
")


Are you in a situation where it would be super helpful to know how to DIY your wedding flowers? Several of my 2020 couples have been forced to delay their wedding because of COVID-19, but have still opted to have an intimate ceremony on their original wedding date. Which got me thinking…why not create a DIY blog for couples in this boat about how to create beautiful arrangements on their own?
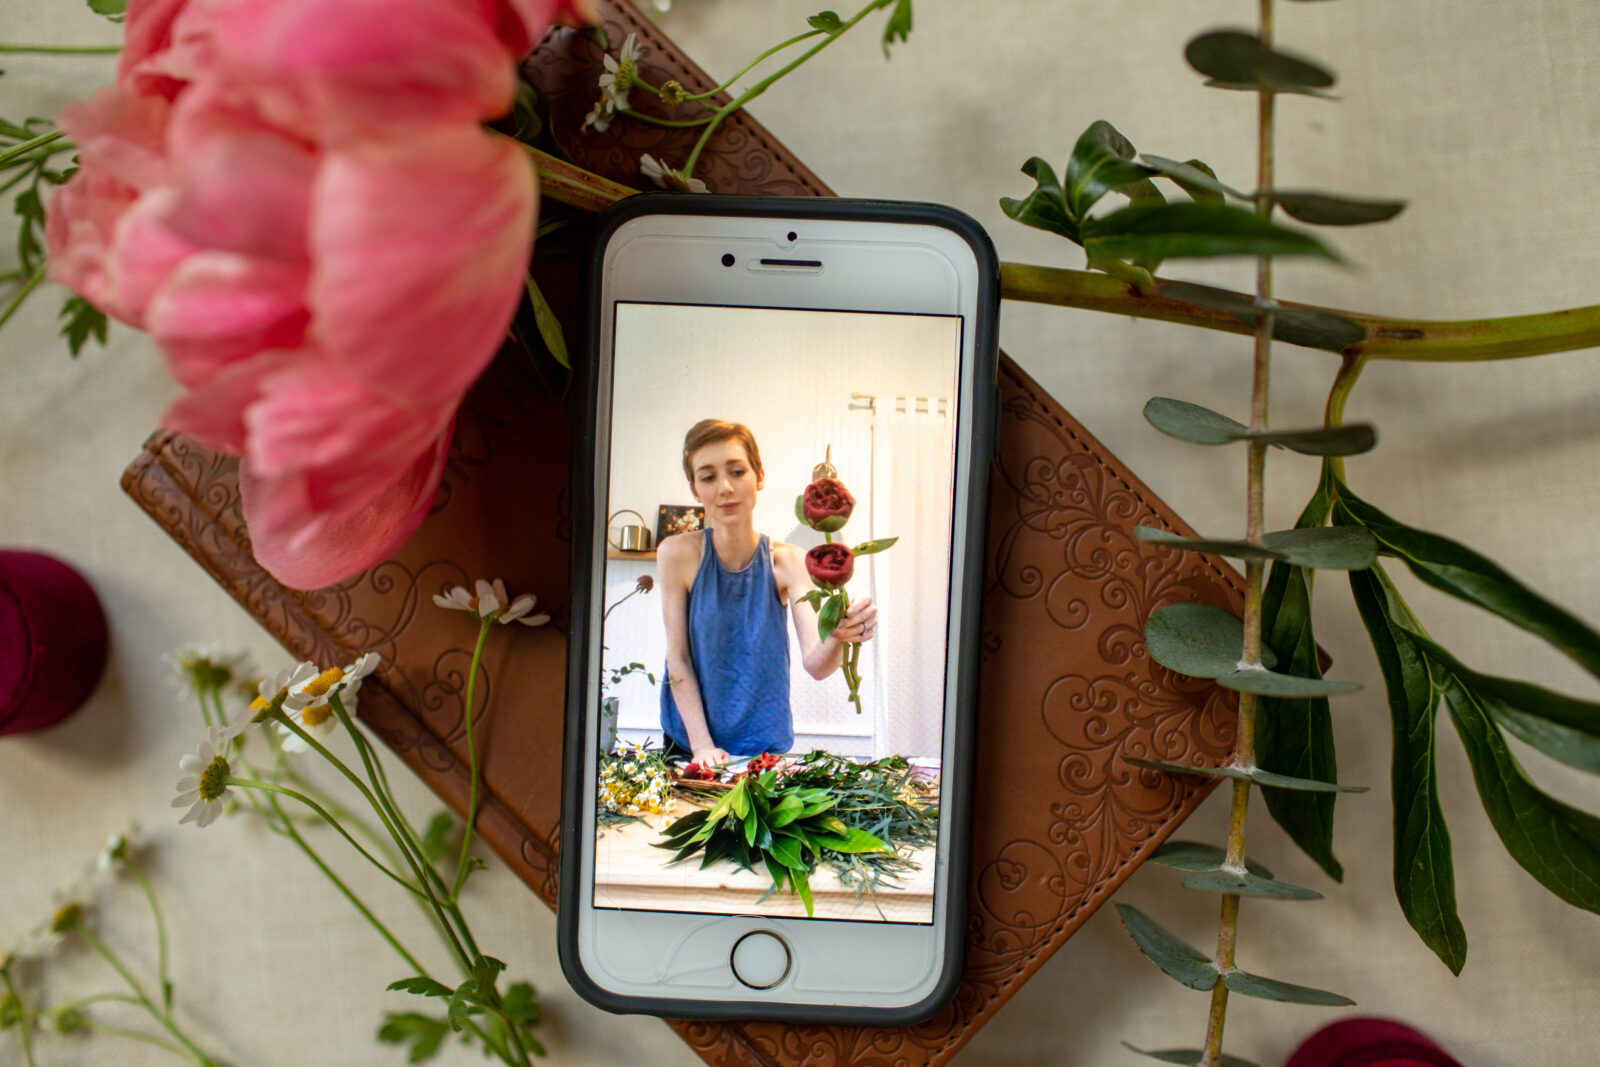
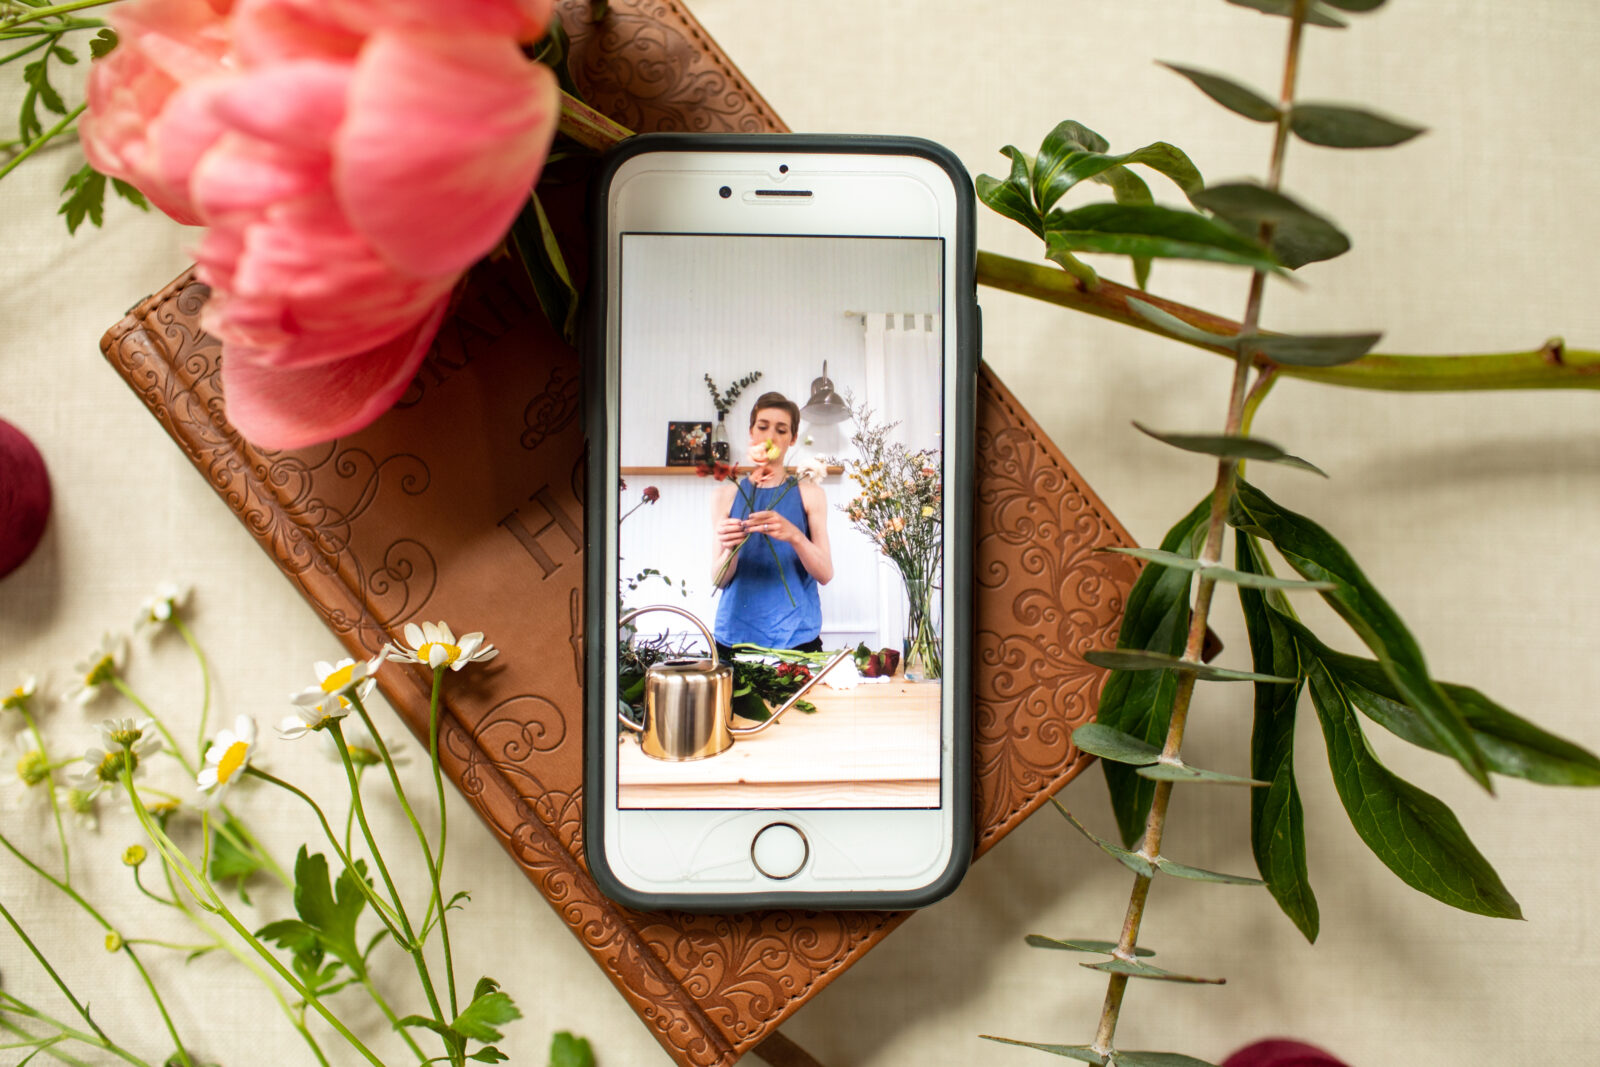
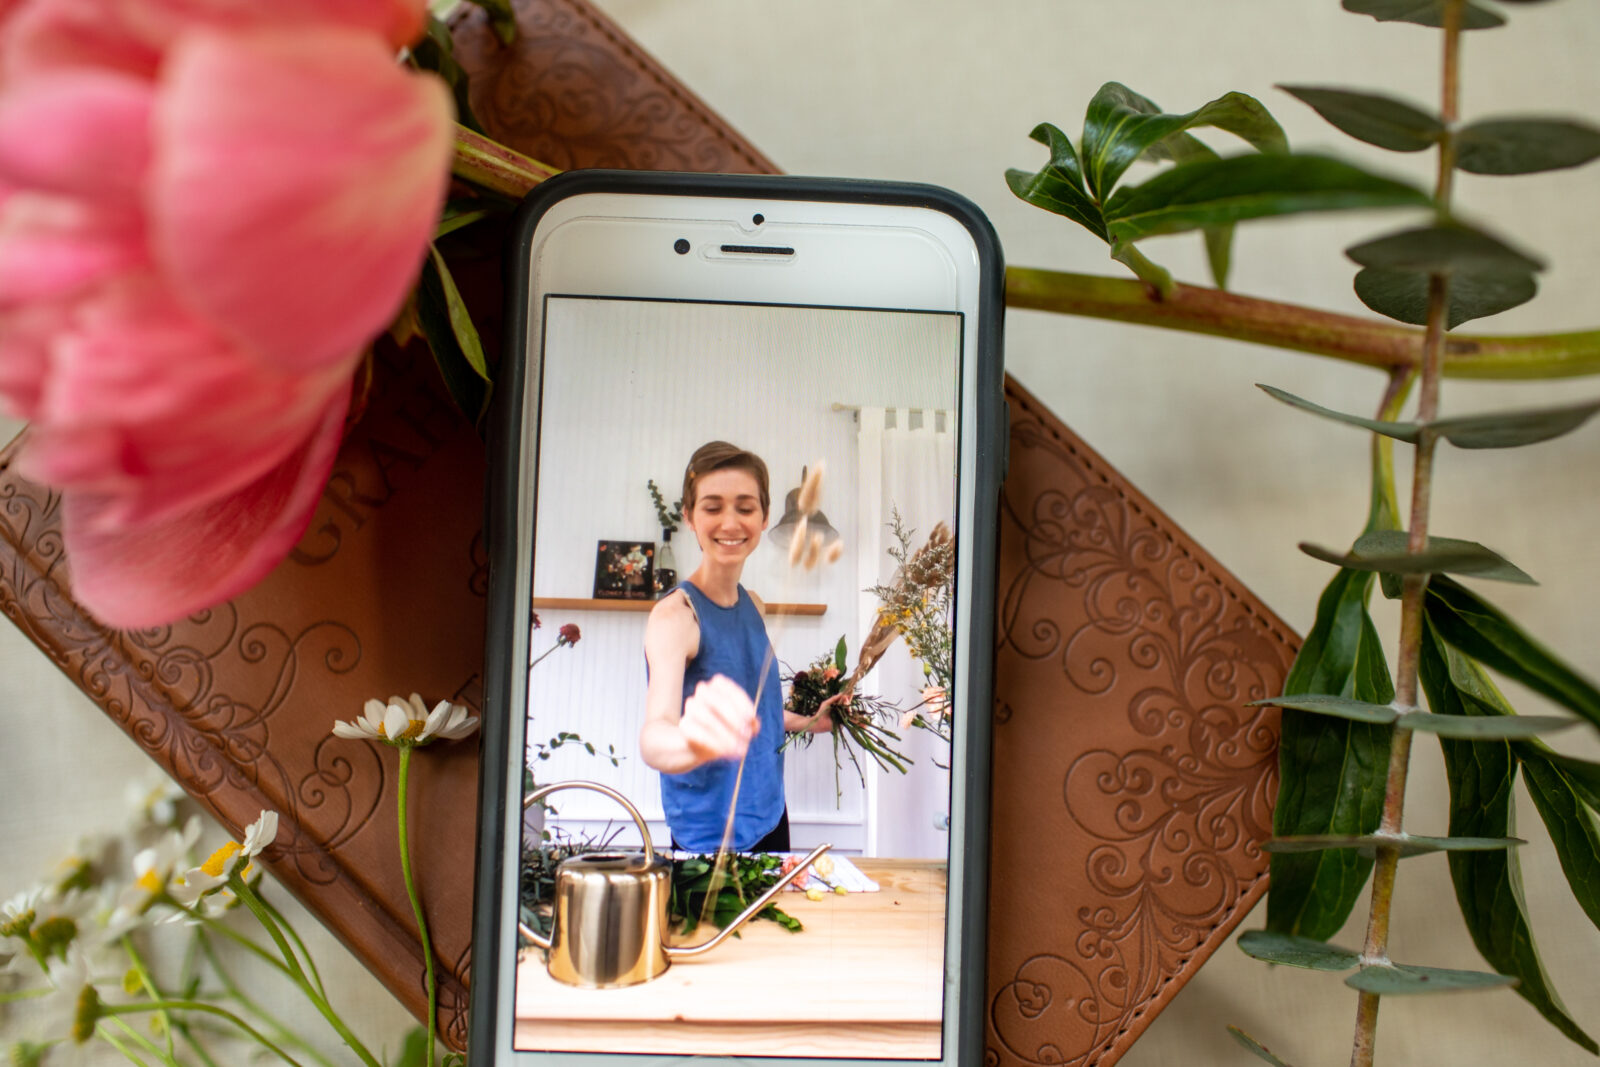
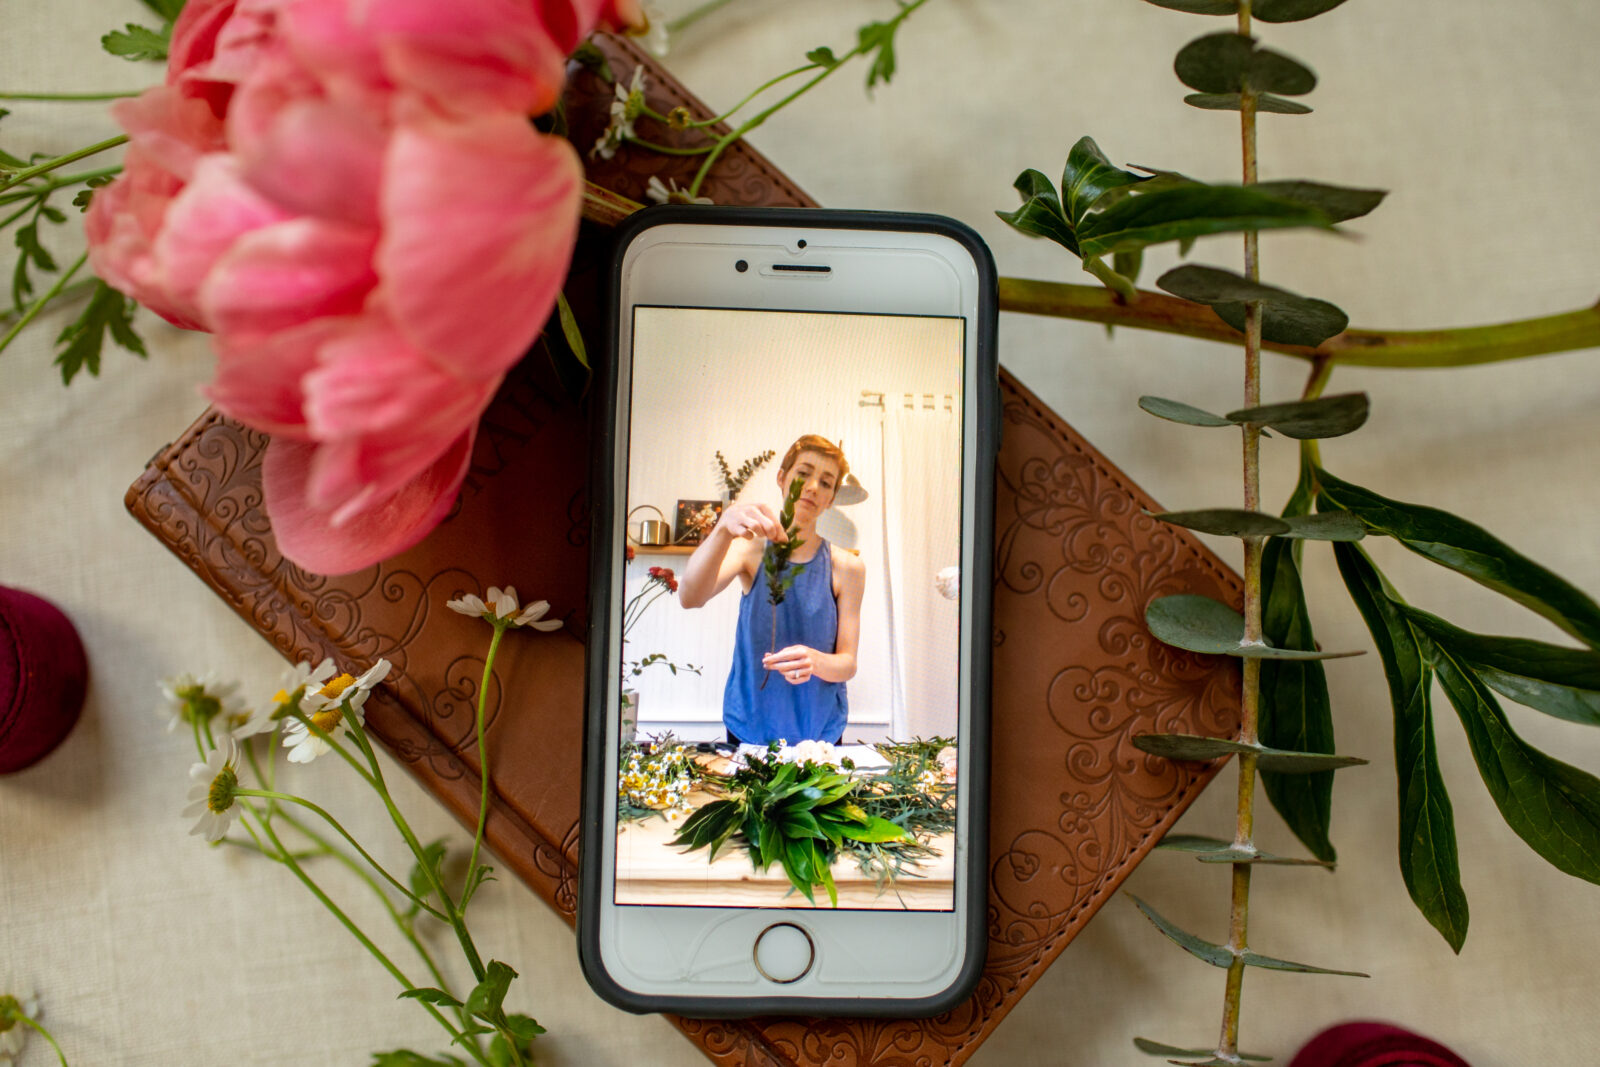
Luckily one of my dear friends is a floral designer, so I gave her a call to pitch the idea of collaborating to create a DIY blog post. She co-owns a wedding flower company called Rooted Blooms floral in Indianapolis, IN, so we decided to get creative and do a little FaceTime photoshoot! She loved the idea, and within a few minutes we had a date on the calendar to do our virtual, “How to DIY Your Wedding Flowers” session!
Kaitlyn had tons of great tips that she shared while working that I’m going to pass along to you all + pair with photos that show the process of putting together a bouquet and boutonniere.
Keep scrolling to learn (with visuals!) how to DIY your wedding flowers:
STEP 1: PINTEREST PHOTOS OF FLORAL ARRANGEMENTS
Before you start creating, it’s important to spend some time researching what you want your floral arrangement to look like. Pinterest is a great resource for this! Make sure to save this visual so that you have it onhand to reference when you’re arranging your florals!
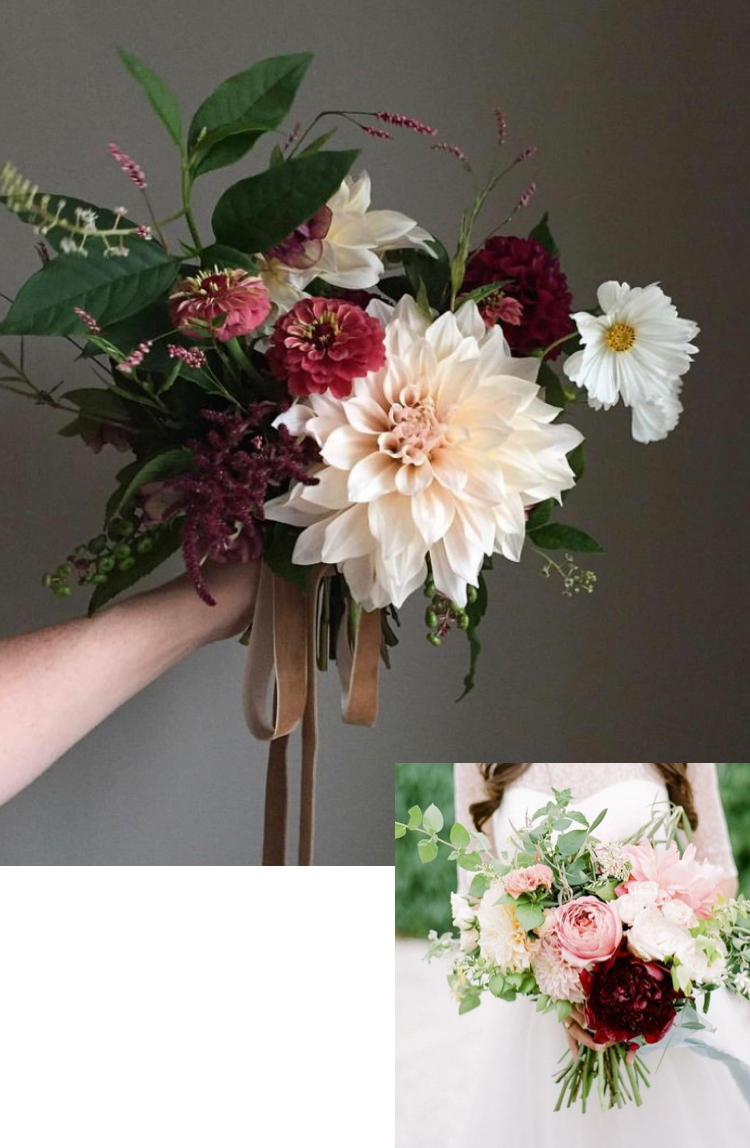
Pinterest Inspo 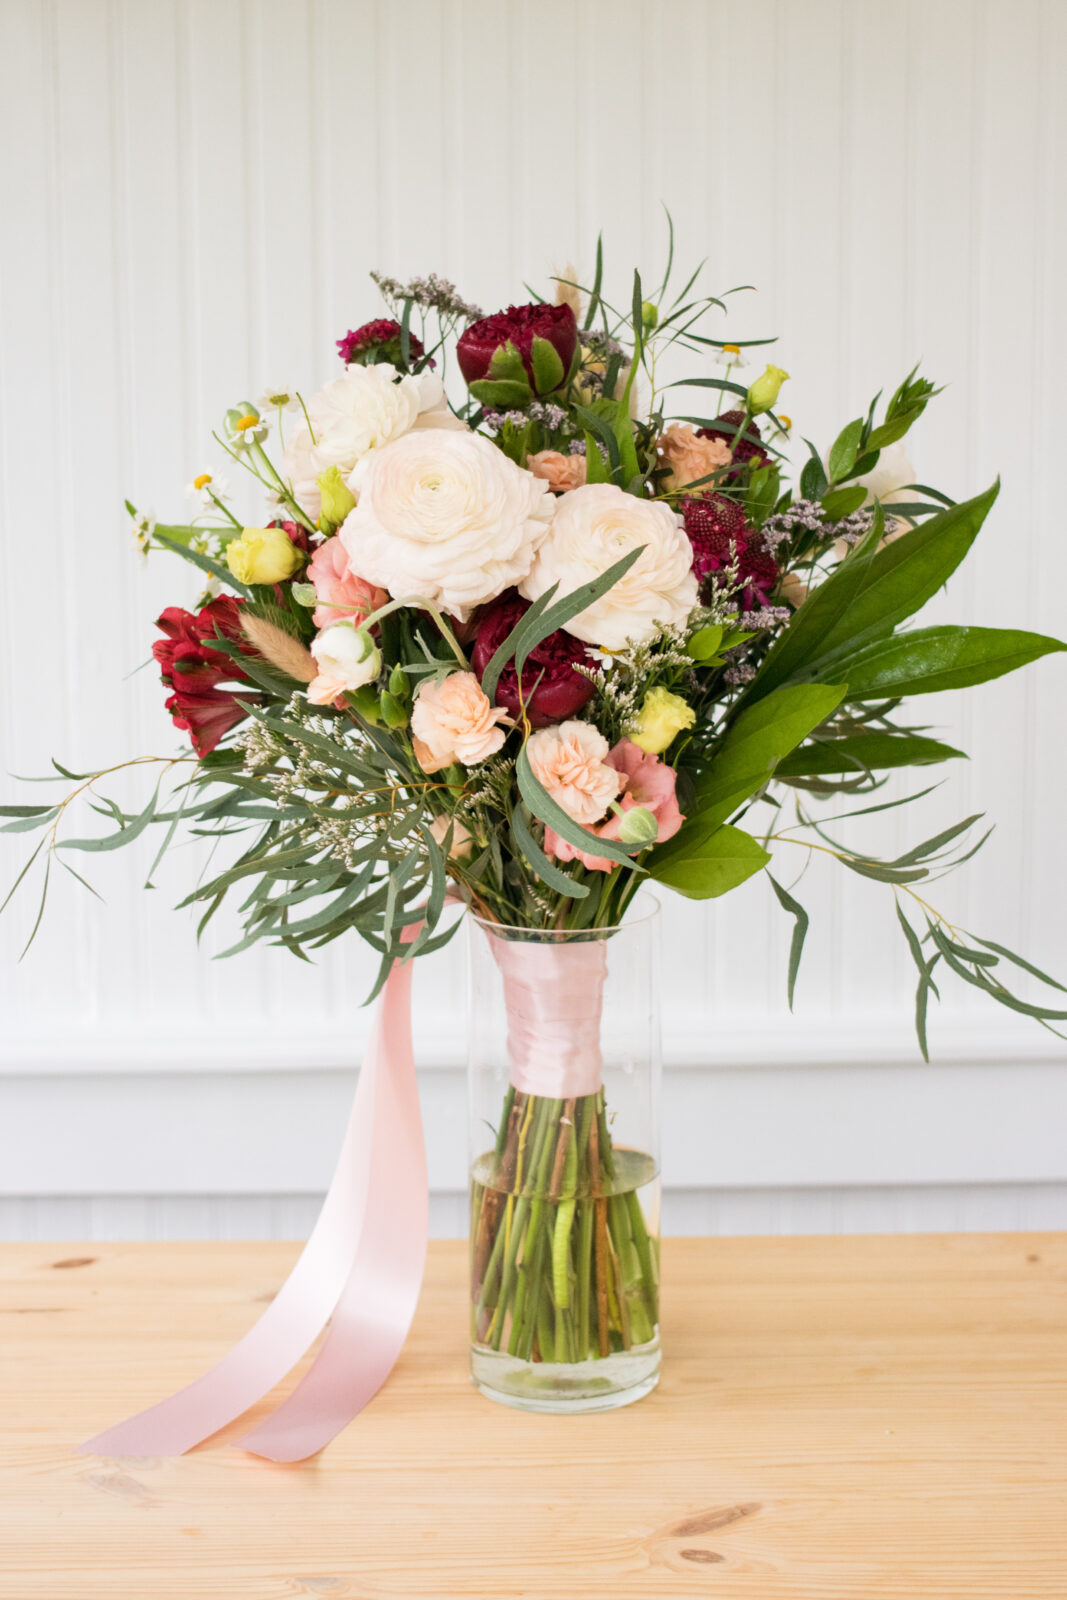
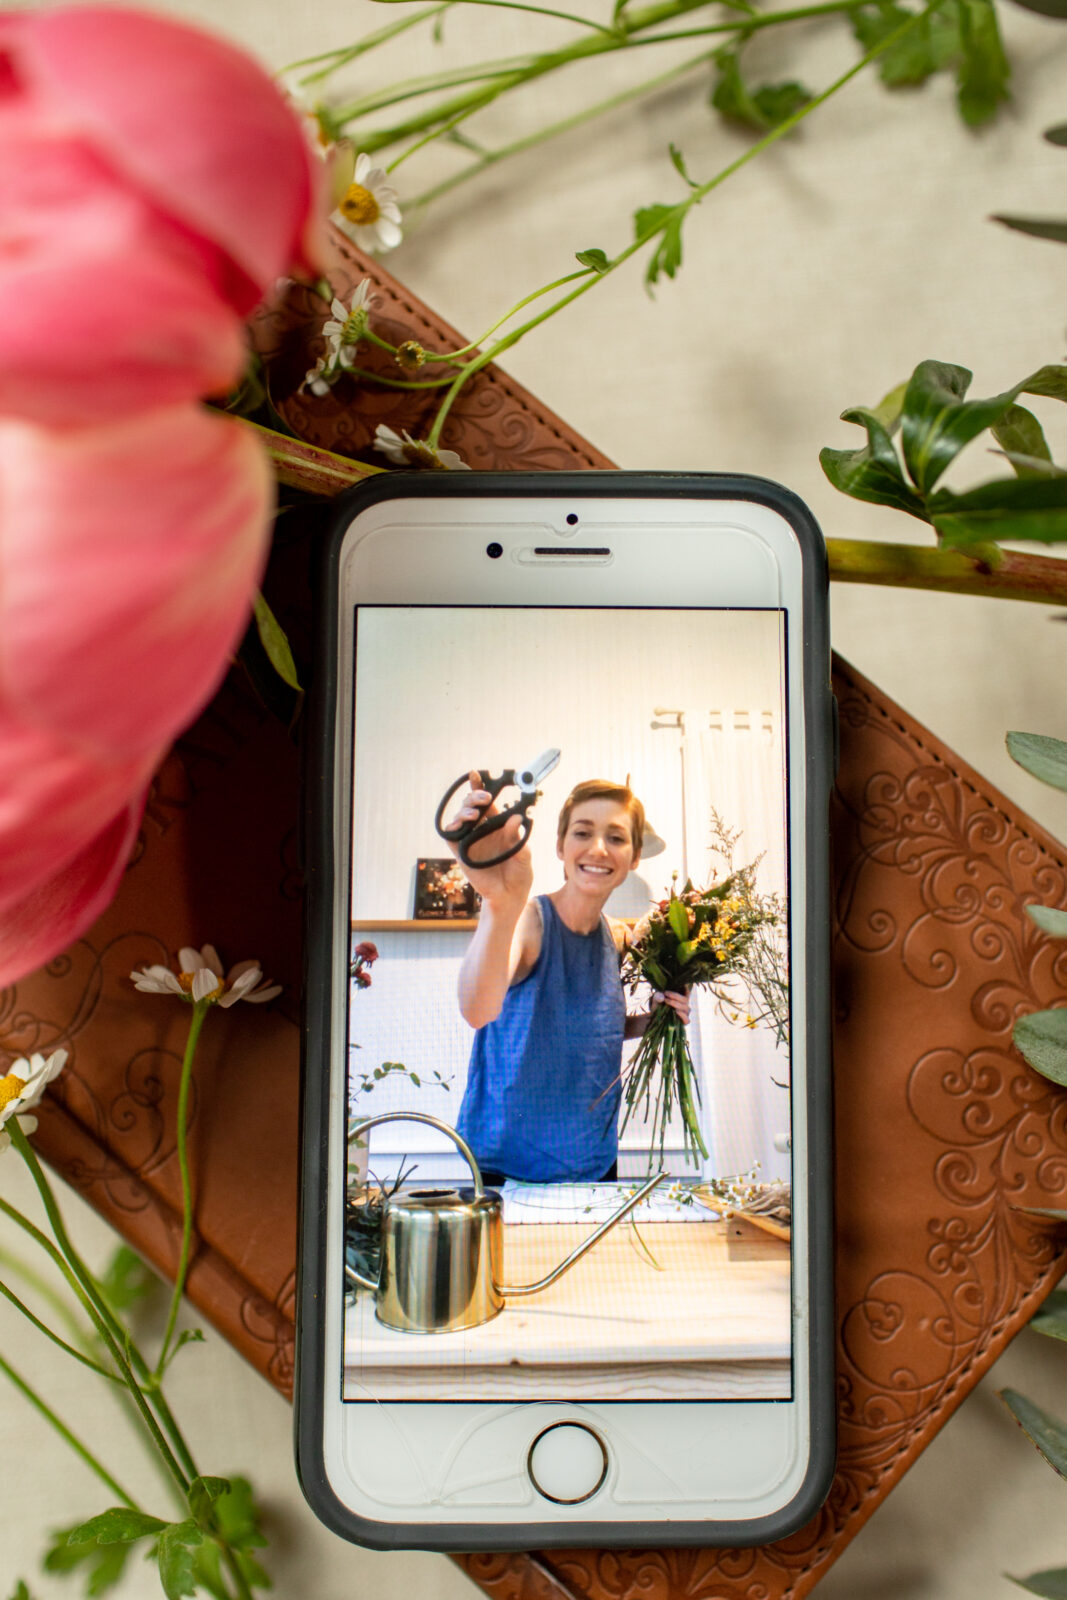
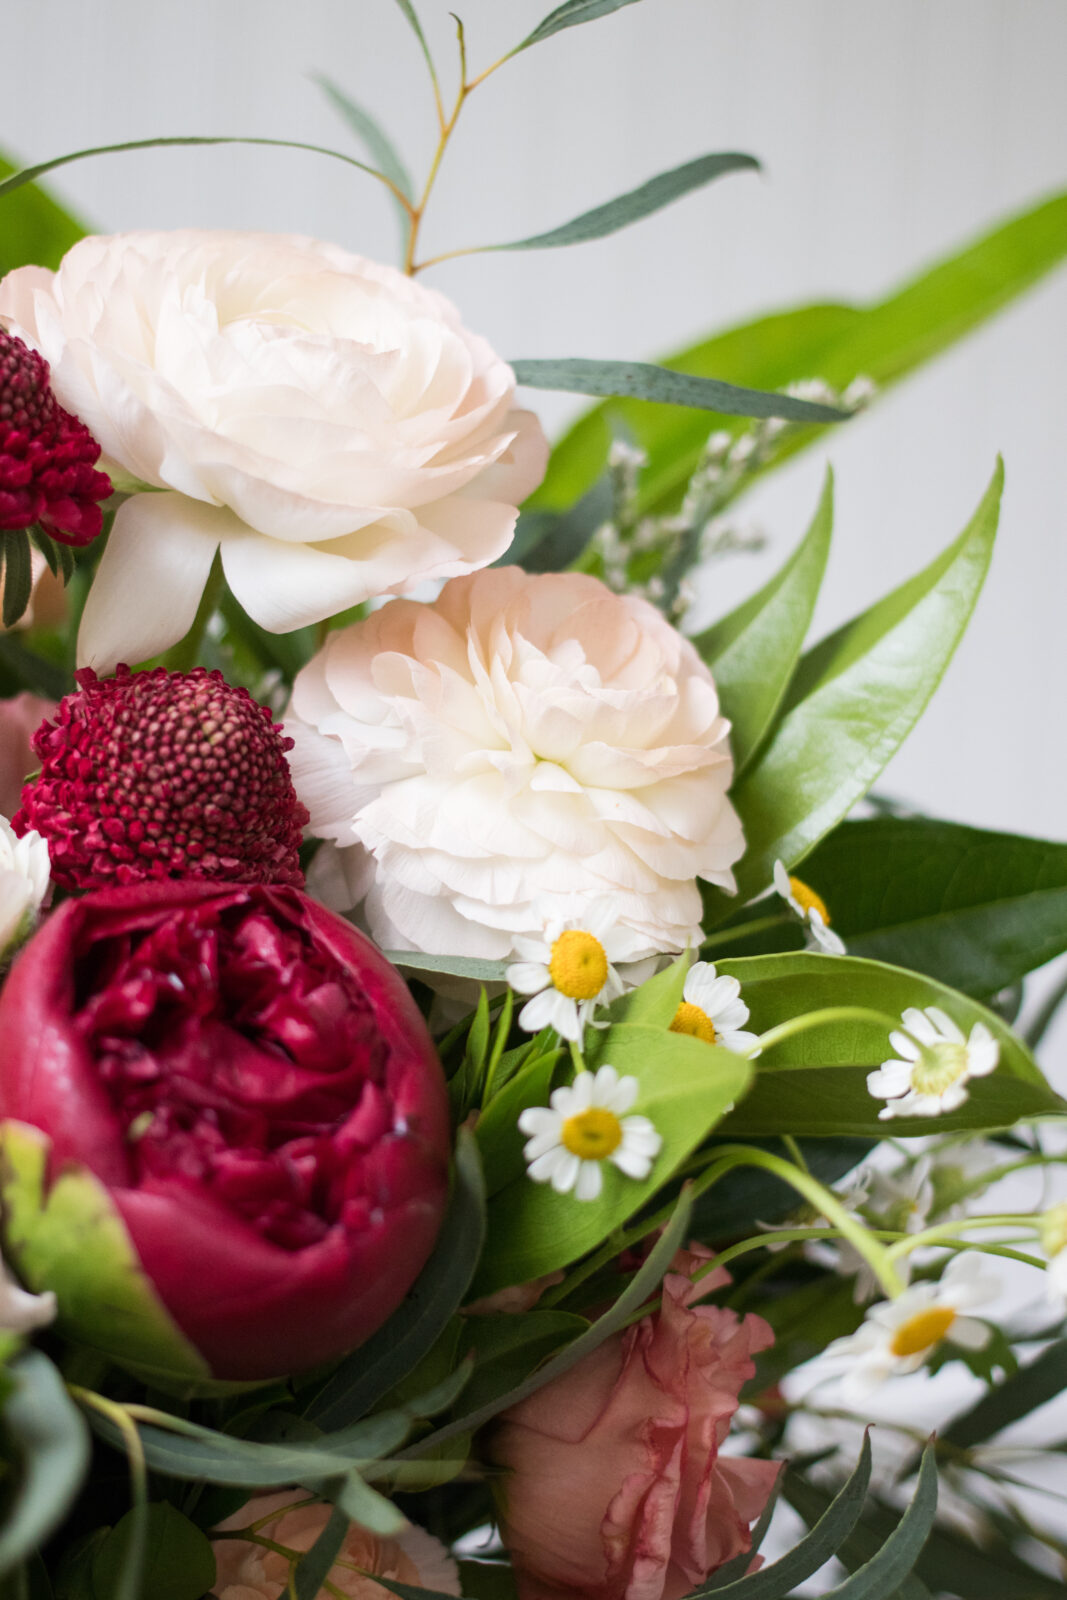
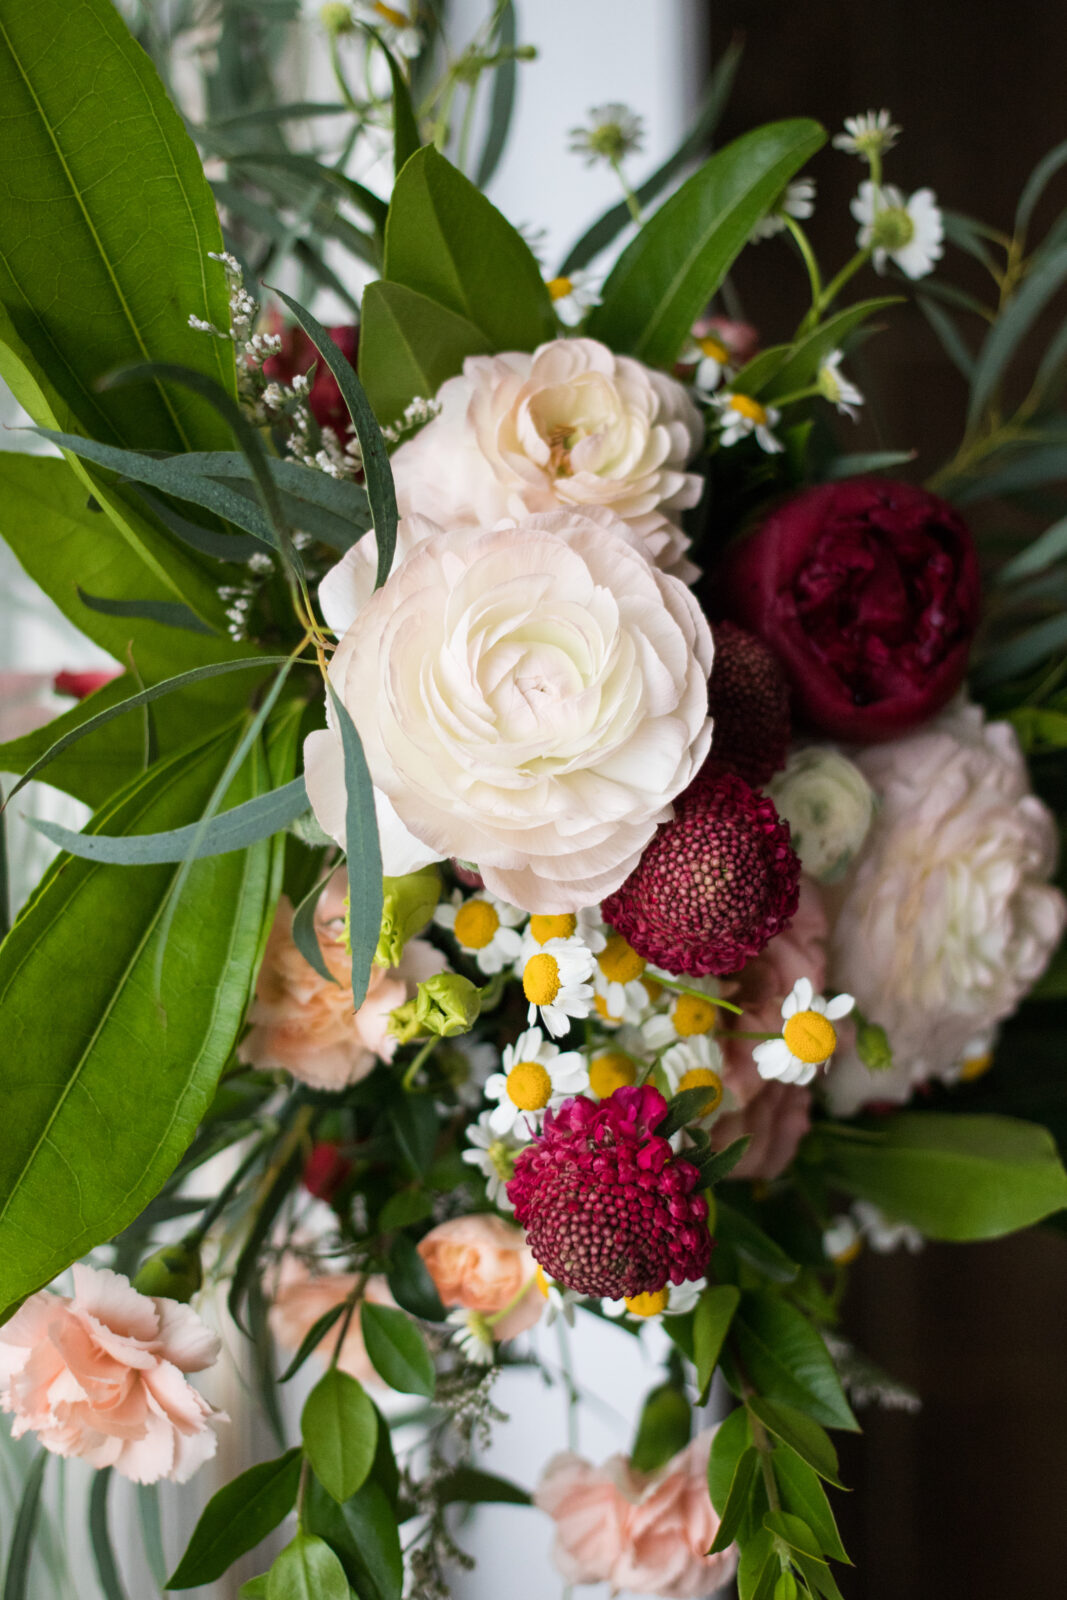
Final Bouquet
STEP 2: IDENTIFY TYPES OF FLOWERS + GREENERY YOU’LL NEED
Now that you have a picture in your head of what you want to create, you’ll need to get the florals necessary to bring it to light! You’ll need to pick florals that fit the categories below:
- Focal Point Flowers // the attention grabbers + main focus of bouquet
- Filler Flower // fills out the body of the bouquet; smaller than focal point flowers
- Accent Flowers // tiny, wispy flowers to help create texture and variety
- Greenery // self-explanatory
Below are examples of what types of florals Kaitlyn used when building her bouquet.
Focal Point Flowers 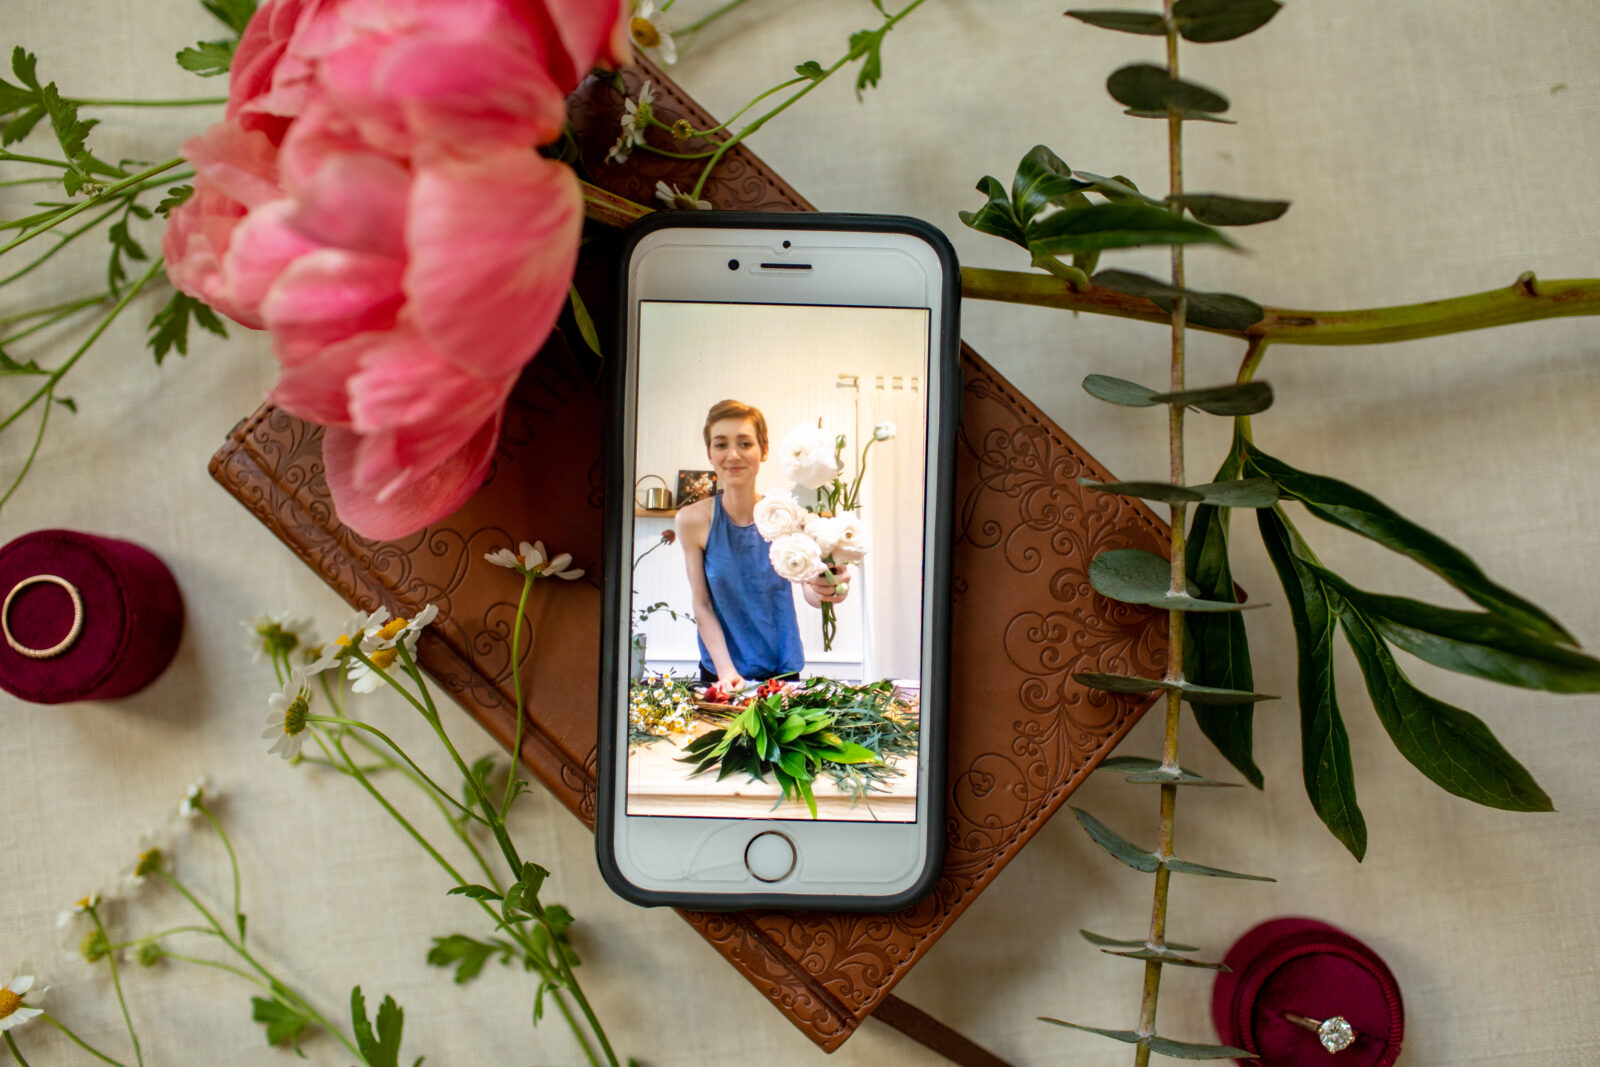
Focal Point Flowers 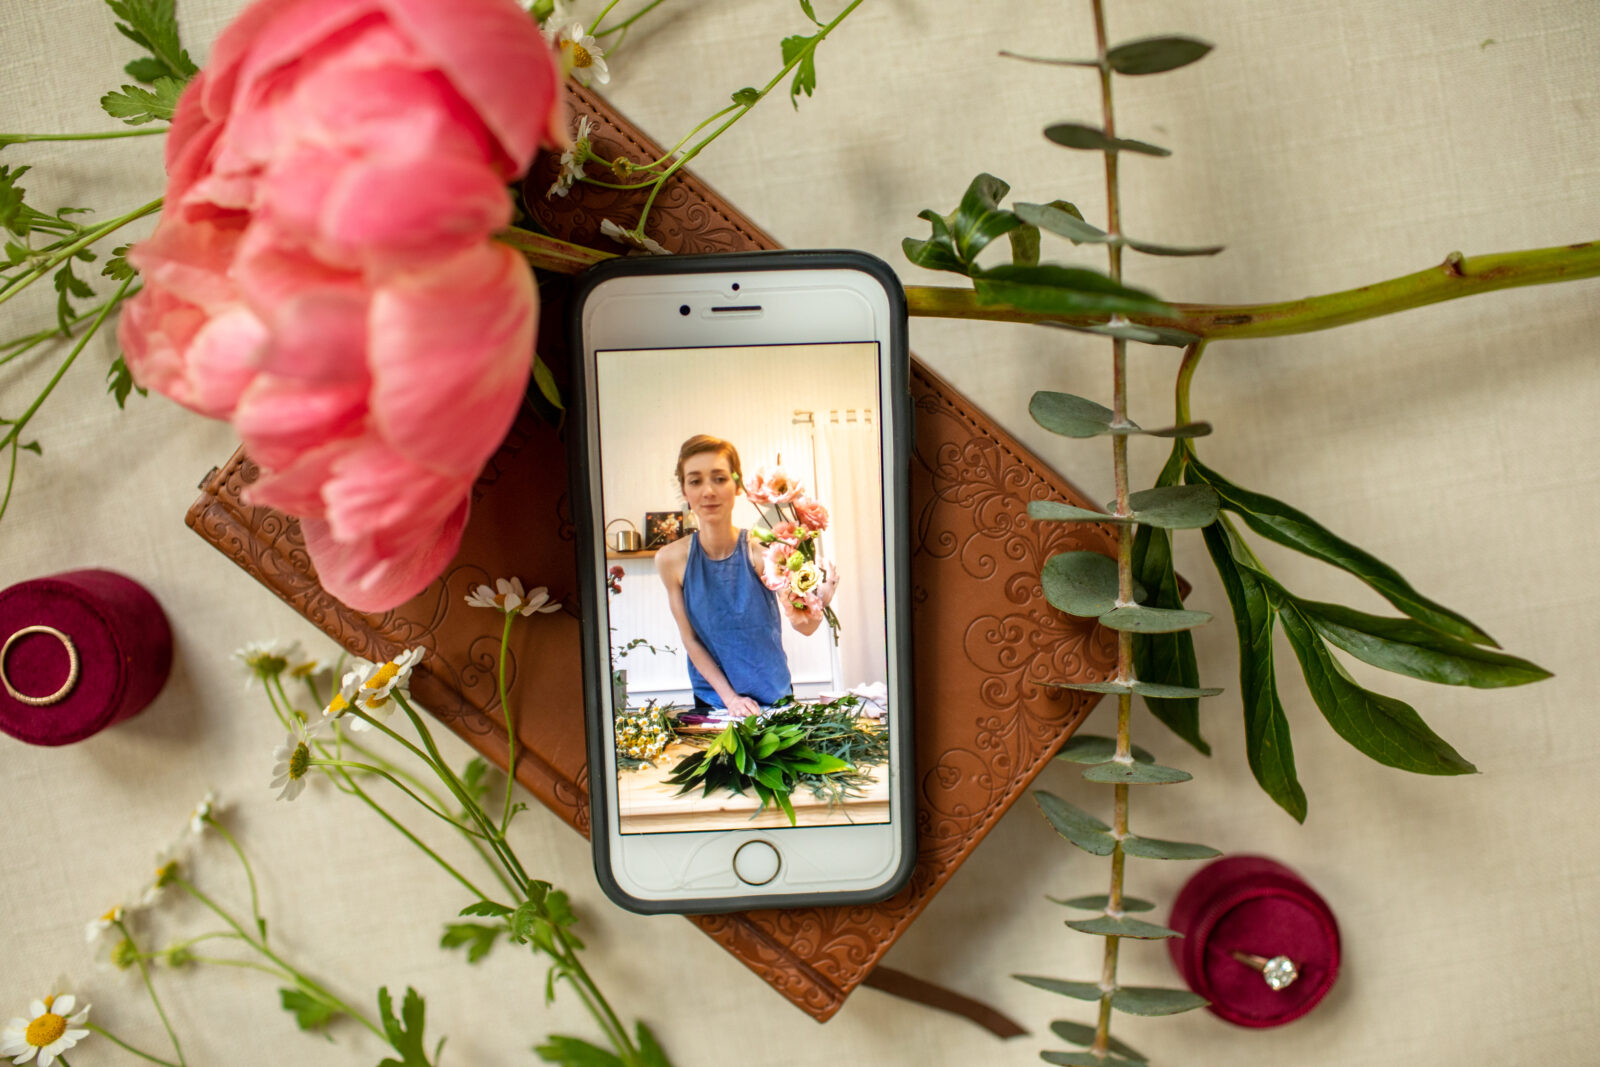
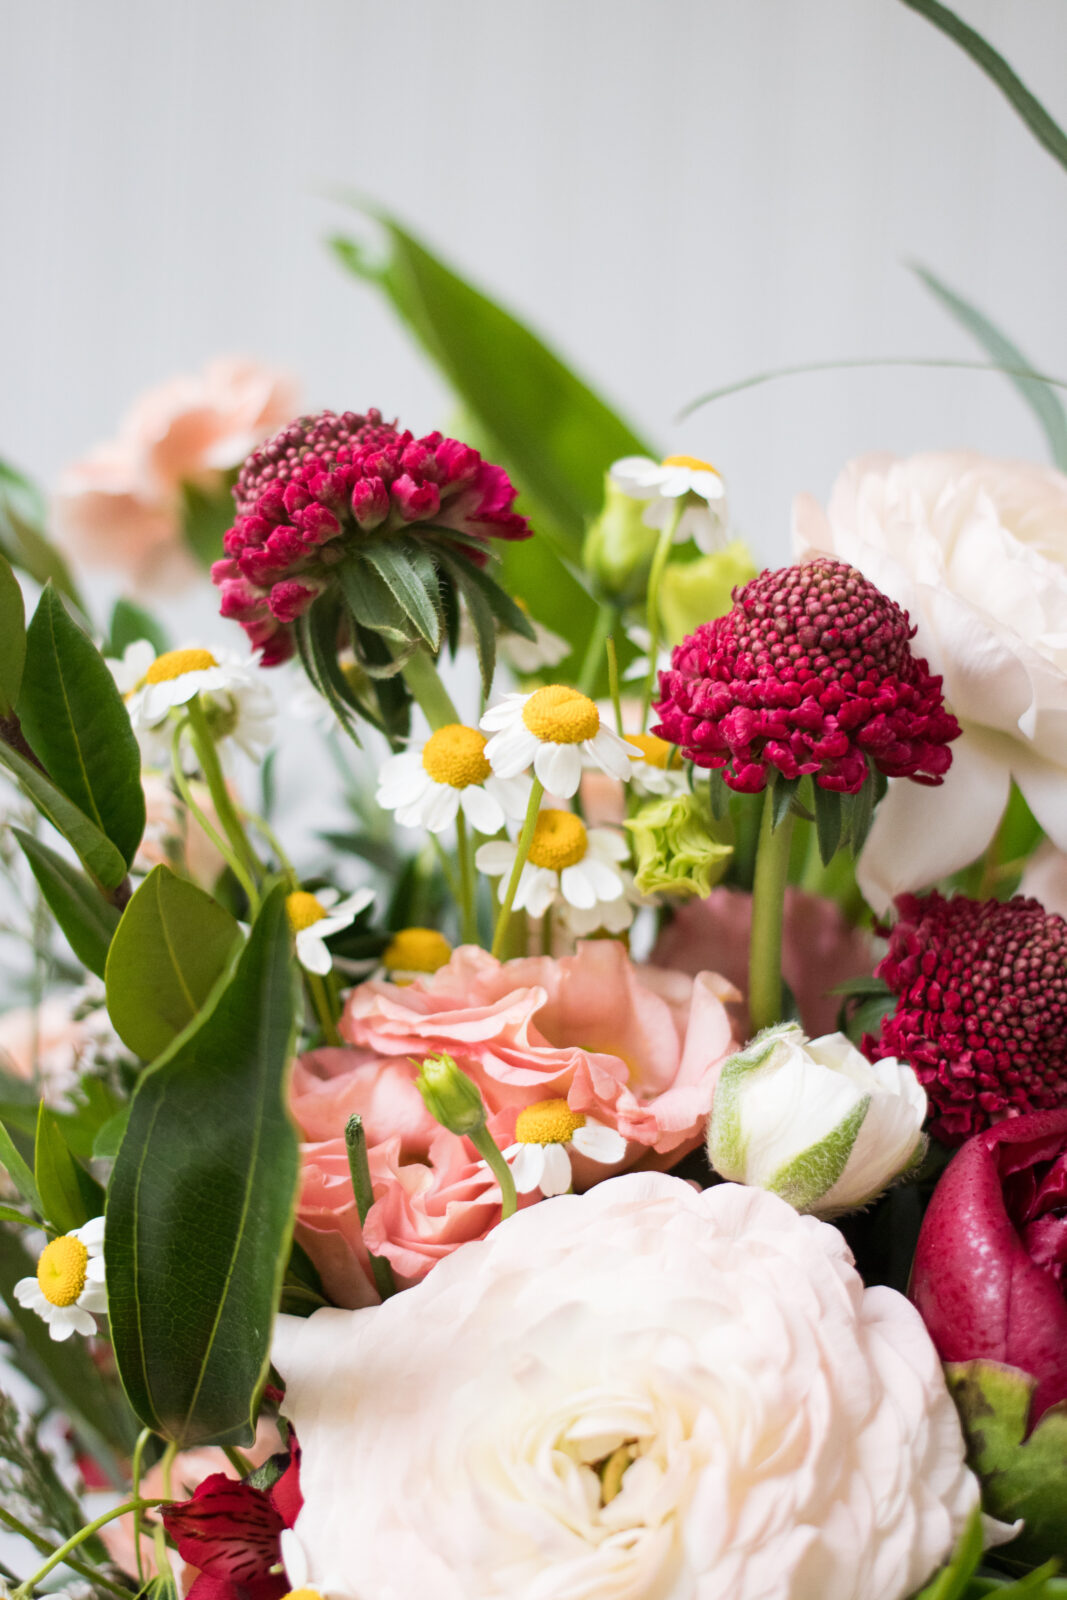
Filler Flowers 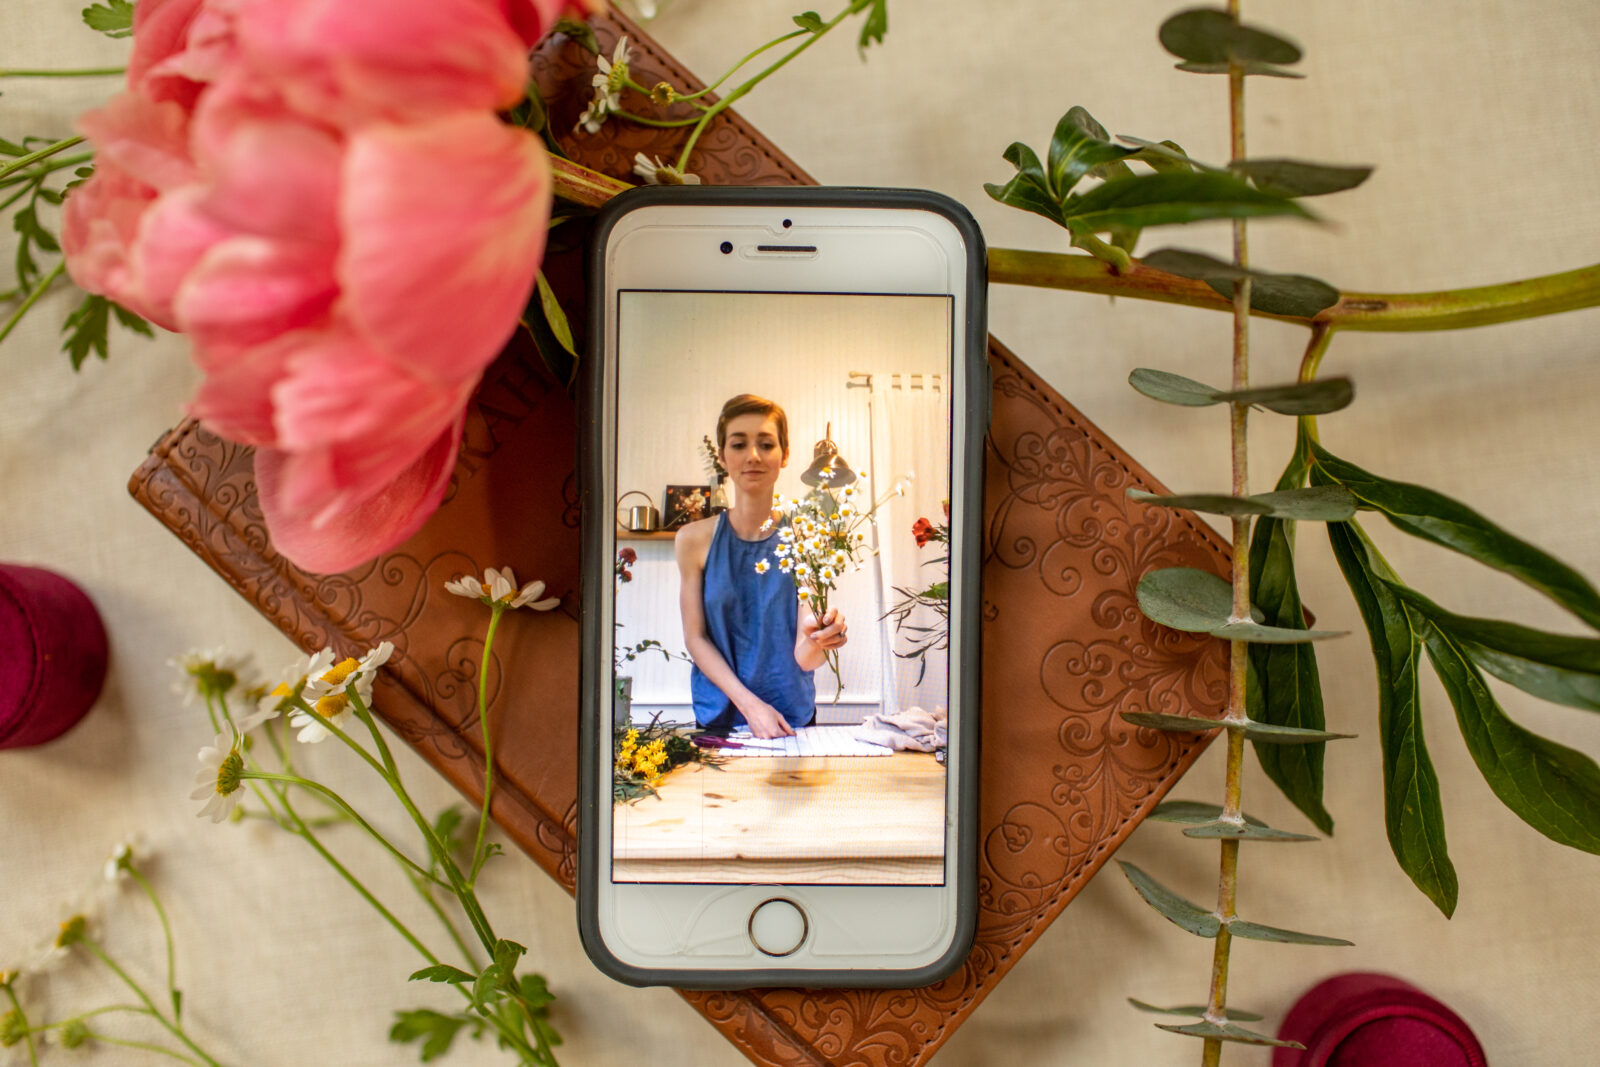
Accent Flowers 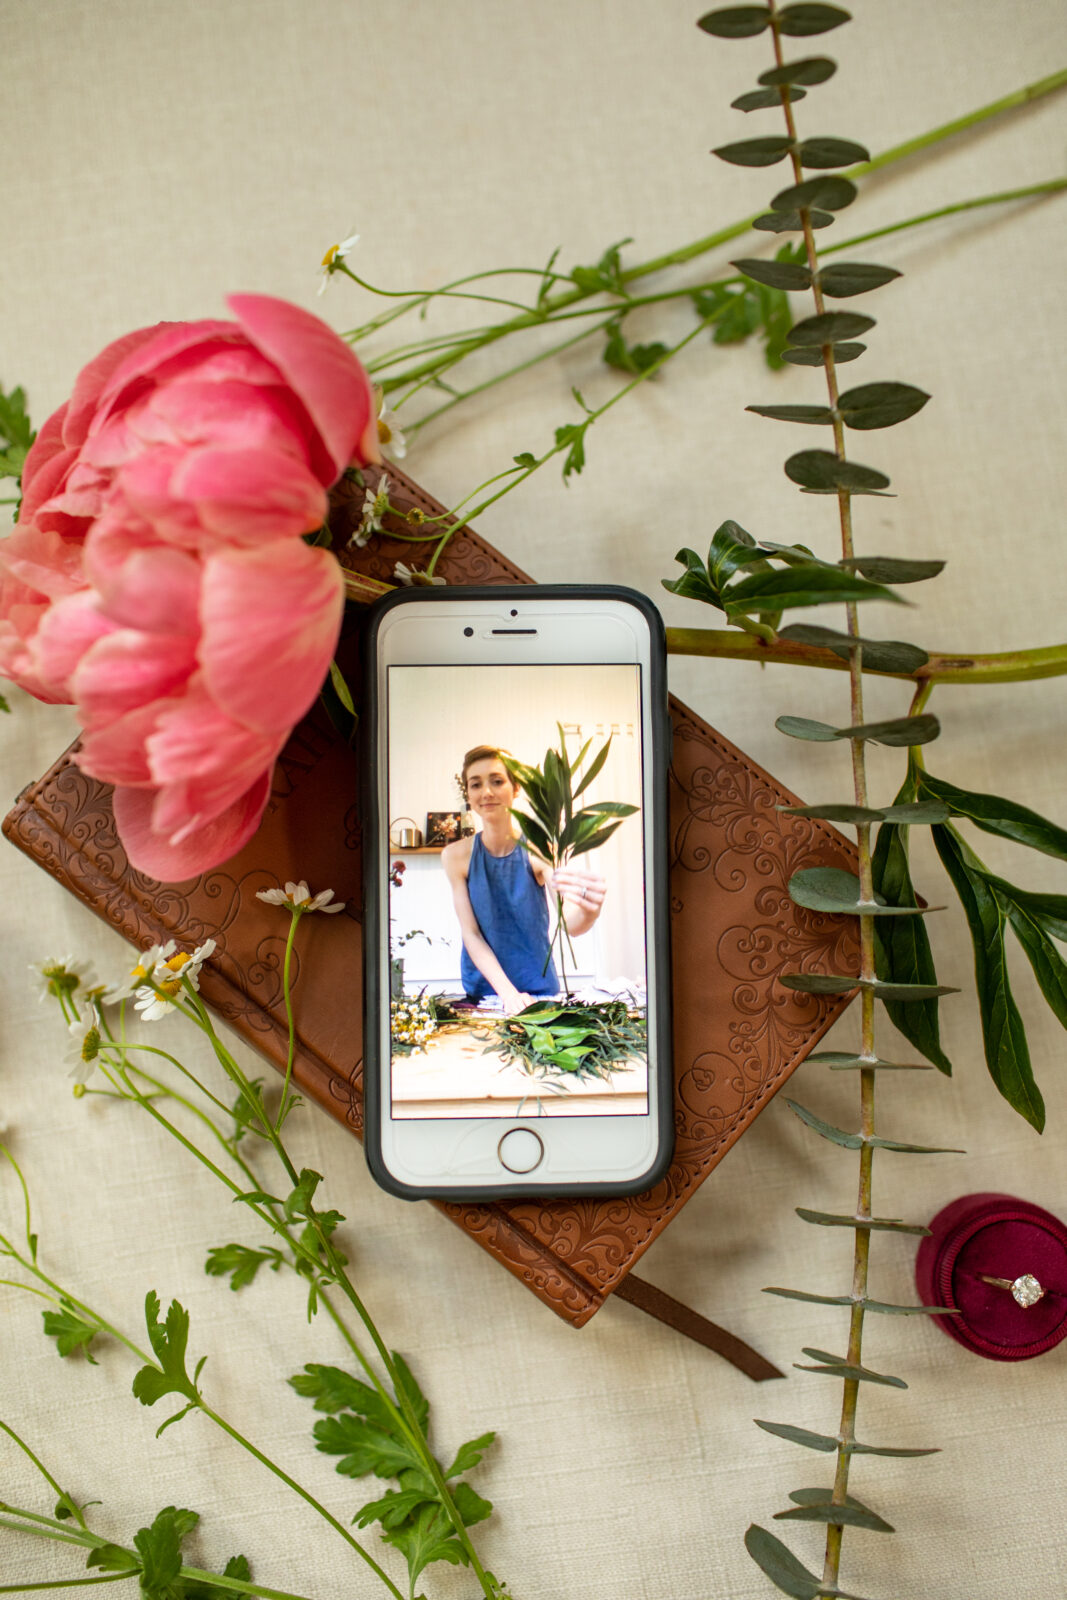
Greenery
STEP 3: GATHER MATERIALS
When it comes to actually putting together your floral arrangement, there are some items you’ll need to have onhand:
- Flowers + Greenery (that you outlined in step 2)
- Floral Tape (holds arrangement together)
- Shears or Scissors
- 5 Gallon Buckets (quantity varies)
- Vases (quantity should match number of bouquets being made)
- Microfiber Towel
- Ribbon (optional)
- Ribbon Scissors (optional)
- Corsage Pin (optional)
- Crowning Glory (optional)
STEP 4: PREP FLORALS
Once you get home after picking up your flowers, you’ll need to cut 2” off the bottom of the stems, strip the leaves from flowers + greenery, and place in cold water (this prevents bacteria from the leaves from getting into the water).
STEP 5: DESIGN BOUQUET
Now that everything is prepped, it’s time to dive in! Below are a few tips to keep in mind as you work:
- Start with focal flower + something with a sturdy stem
- Cross stems (this is hardest starting out) and add greenery as you go to add bulk
PRO DESIGN TIPS:
- Bouquets are focused on texture + shape
- The way you hold the bouquet + add flowers will dictate the shape of your final bouquet
- Don’t be afraid to eyeball it! Just make sure you’re always going off of photo from Step 1
- Keep your hand open and loose as your arrangement grows
- Thumb + index finger will be tight; everything else is loose
- Continually pull up flowers so that they don’t get lost in the bouquet
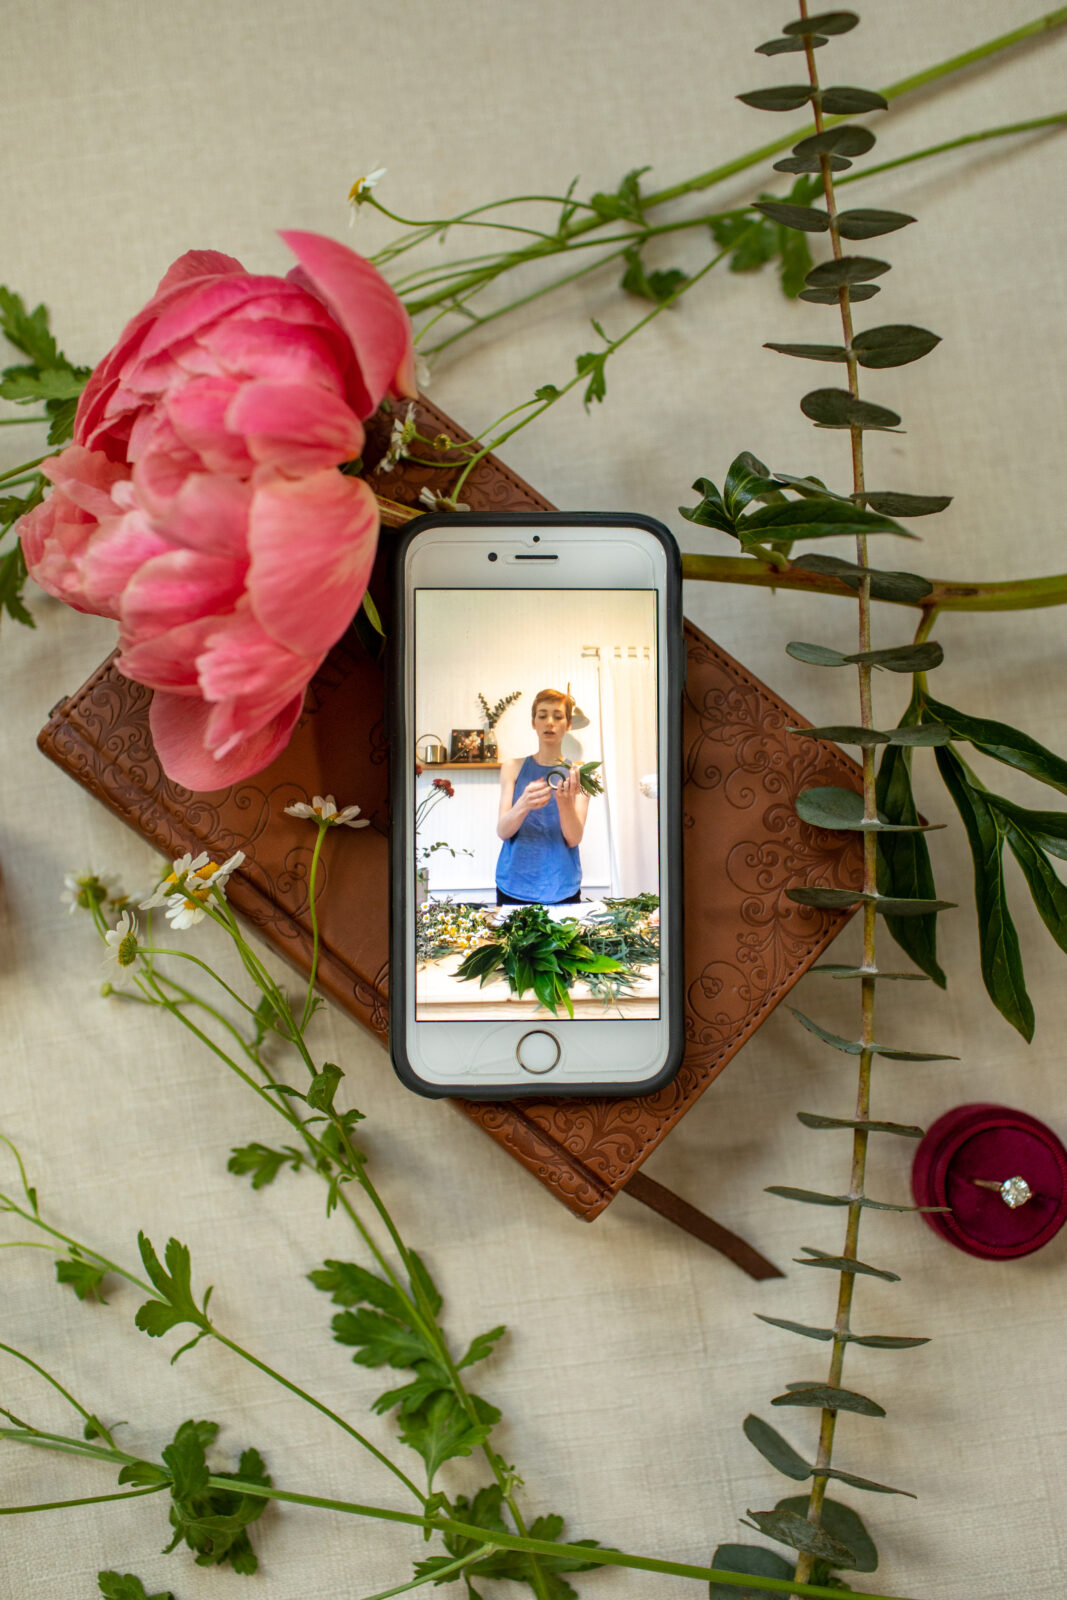
- Wait to add dried flowers until you have a good base. When adding them, keep trying to insert until it goes in easily (yes, that’s what she said)
Start with focal flower + something with a sturdy stem 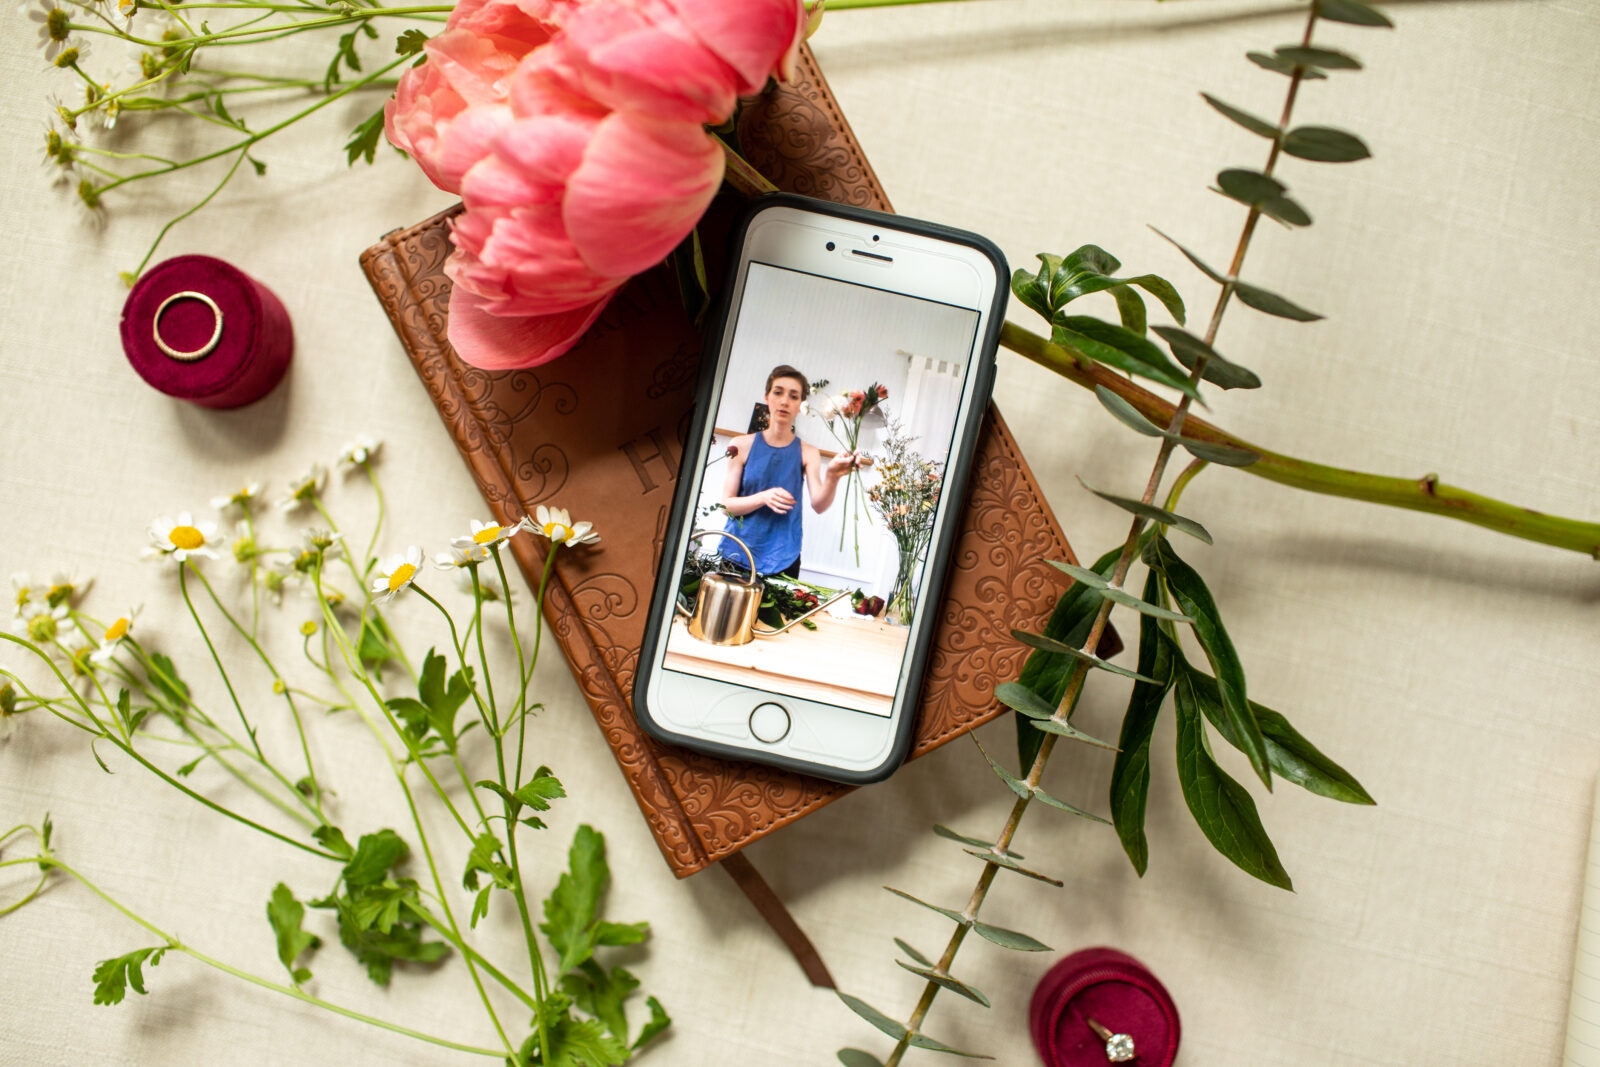
Cross stems 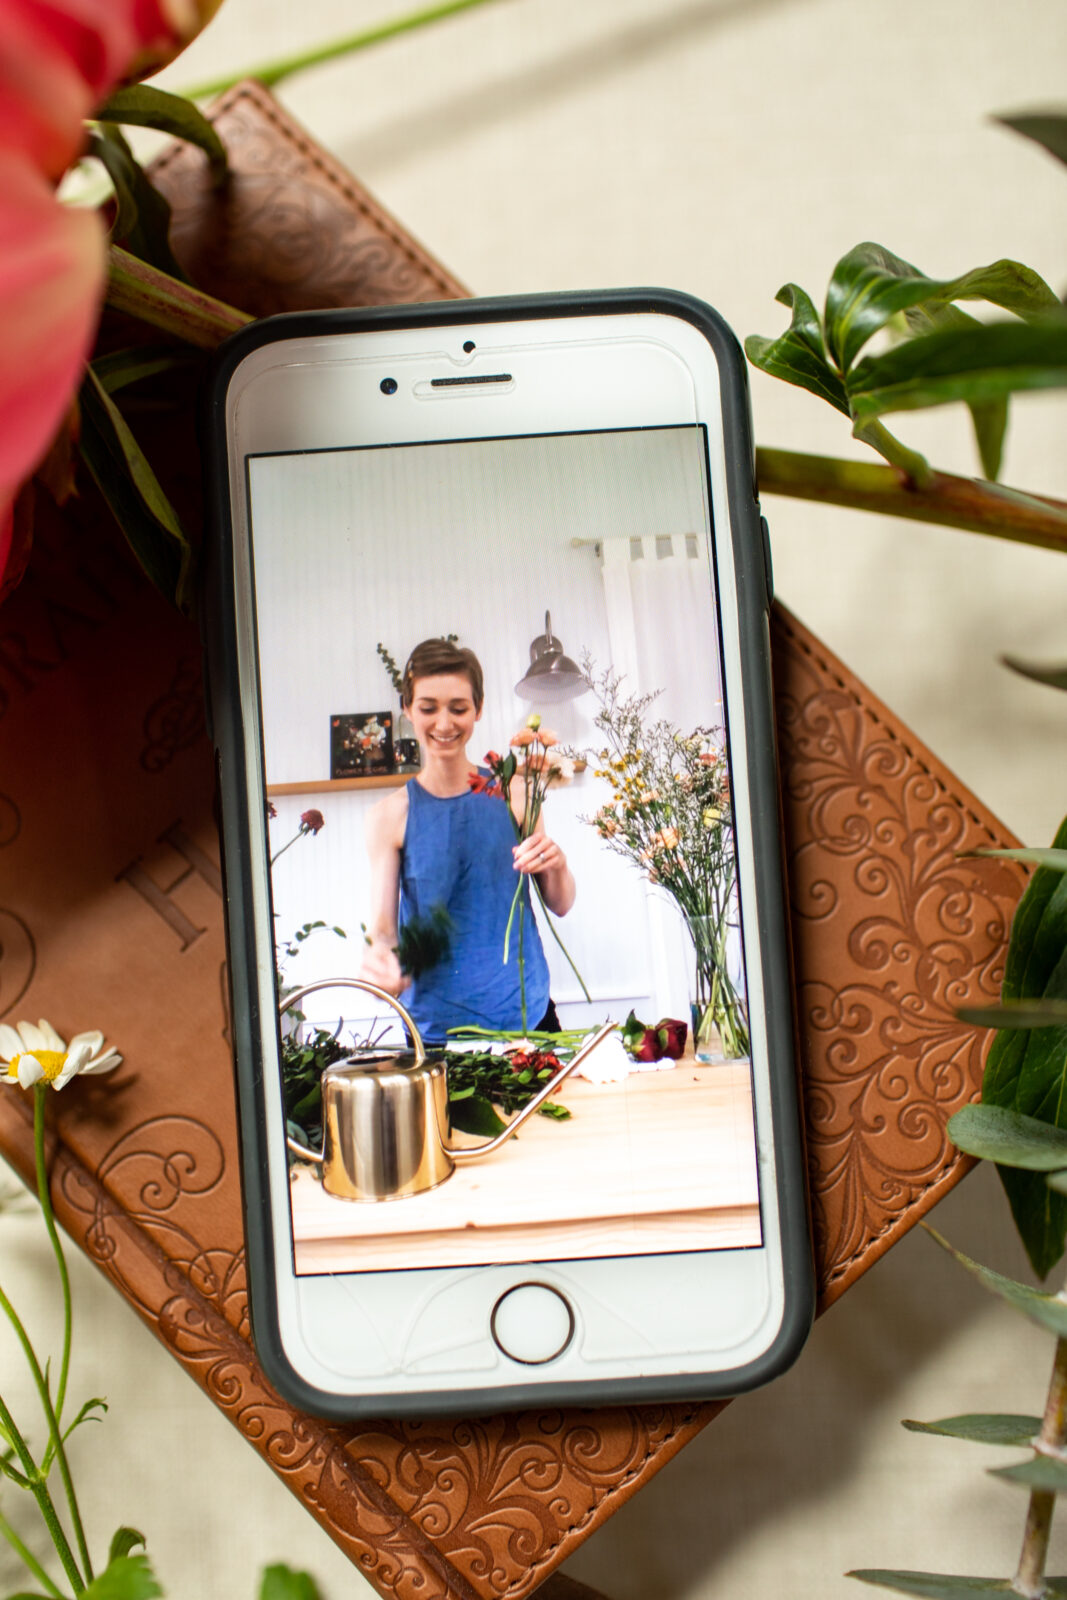
The way you hold the bouquet + add flowers will dictate the shape of your final bouquet (more open hand approach) 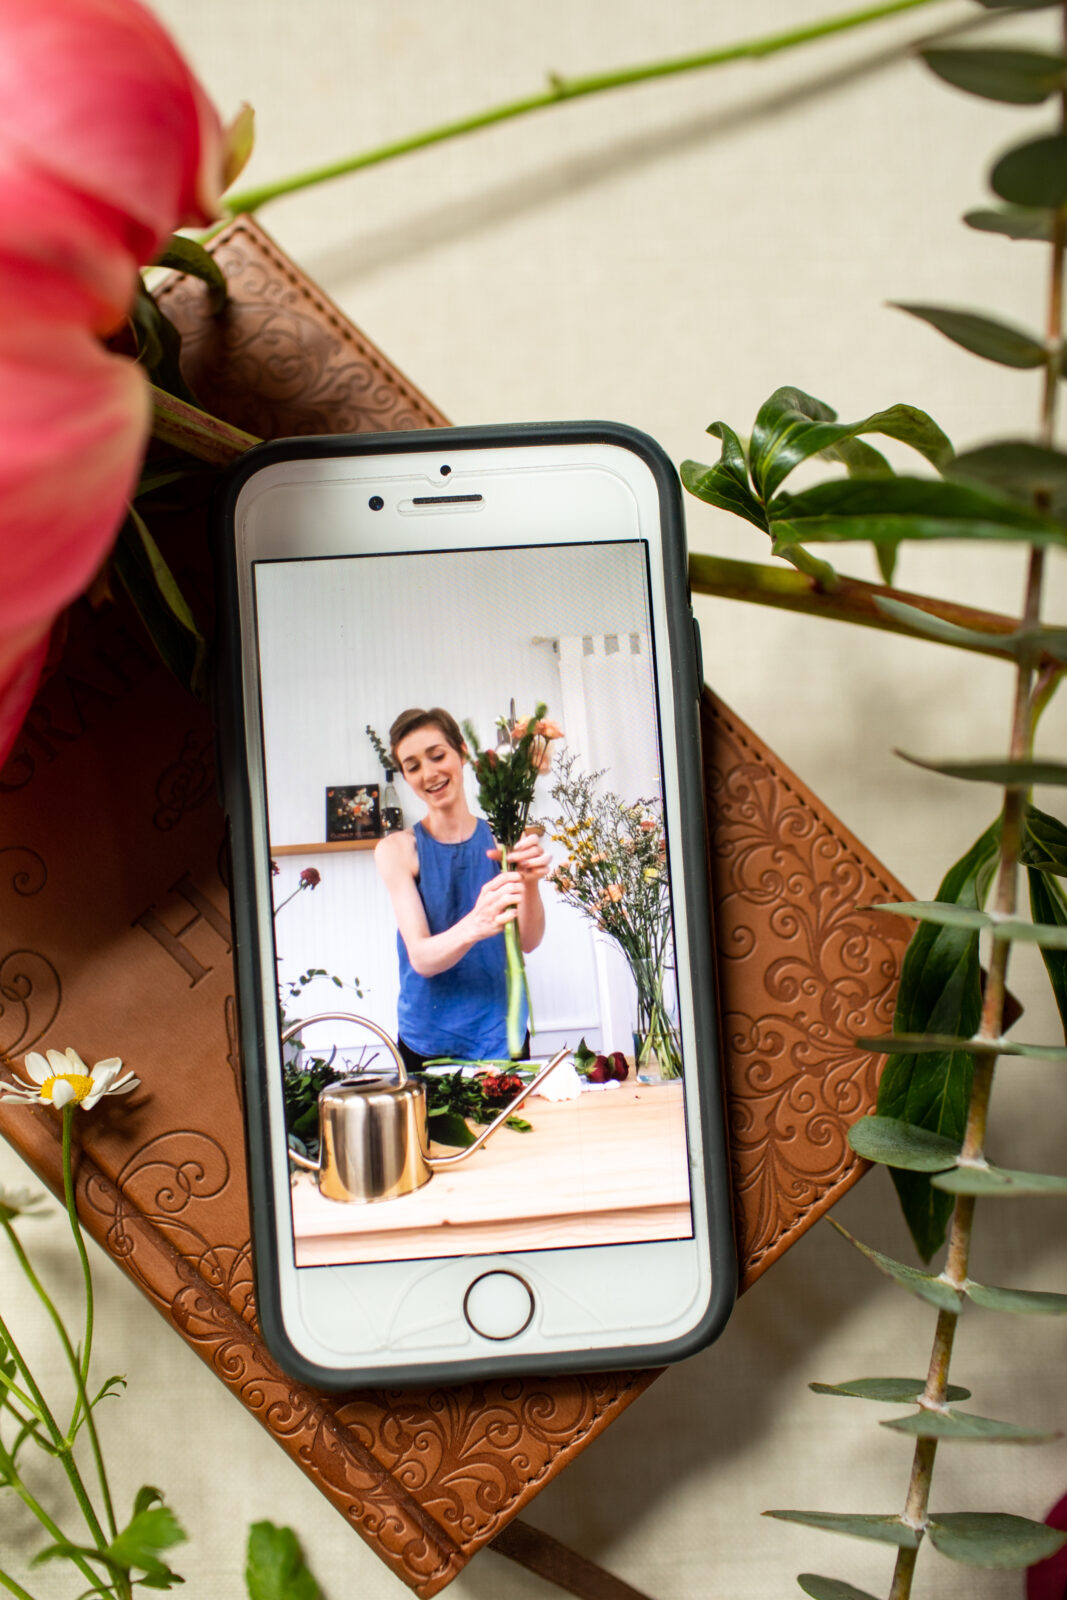
The way you hold the bouquet + add flowers will dictate the shape of your final bouquet (more clenched hand approach) 
Don’t be afraid to eyeball it! Just make sure you’re always going off of photo from Step 1 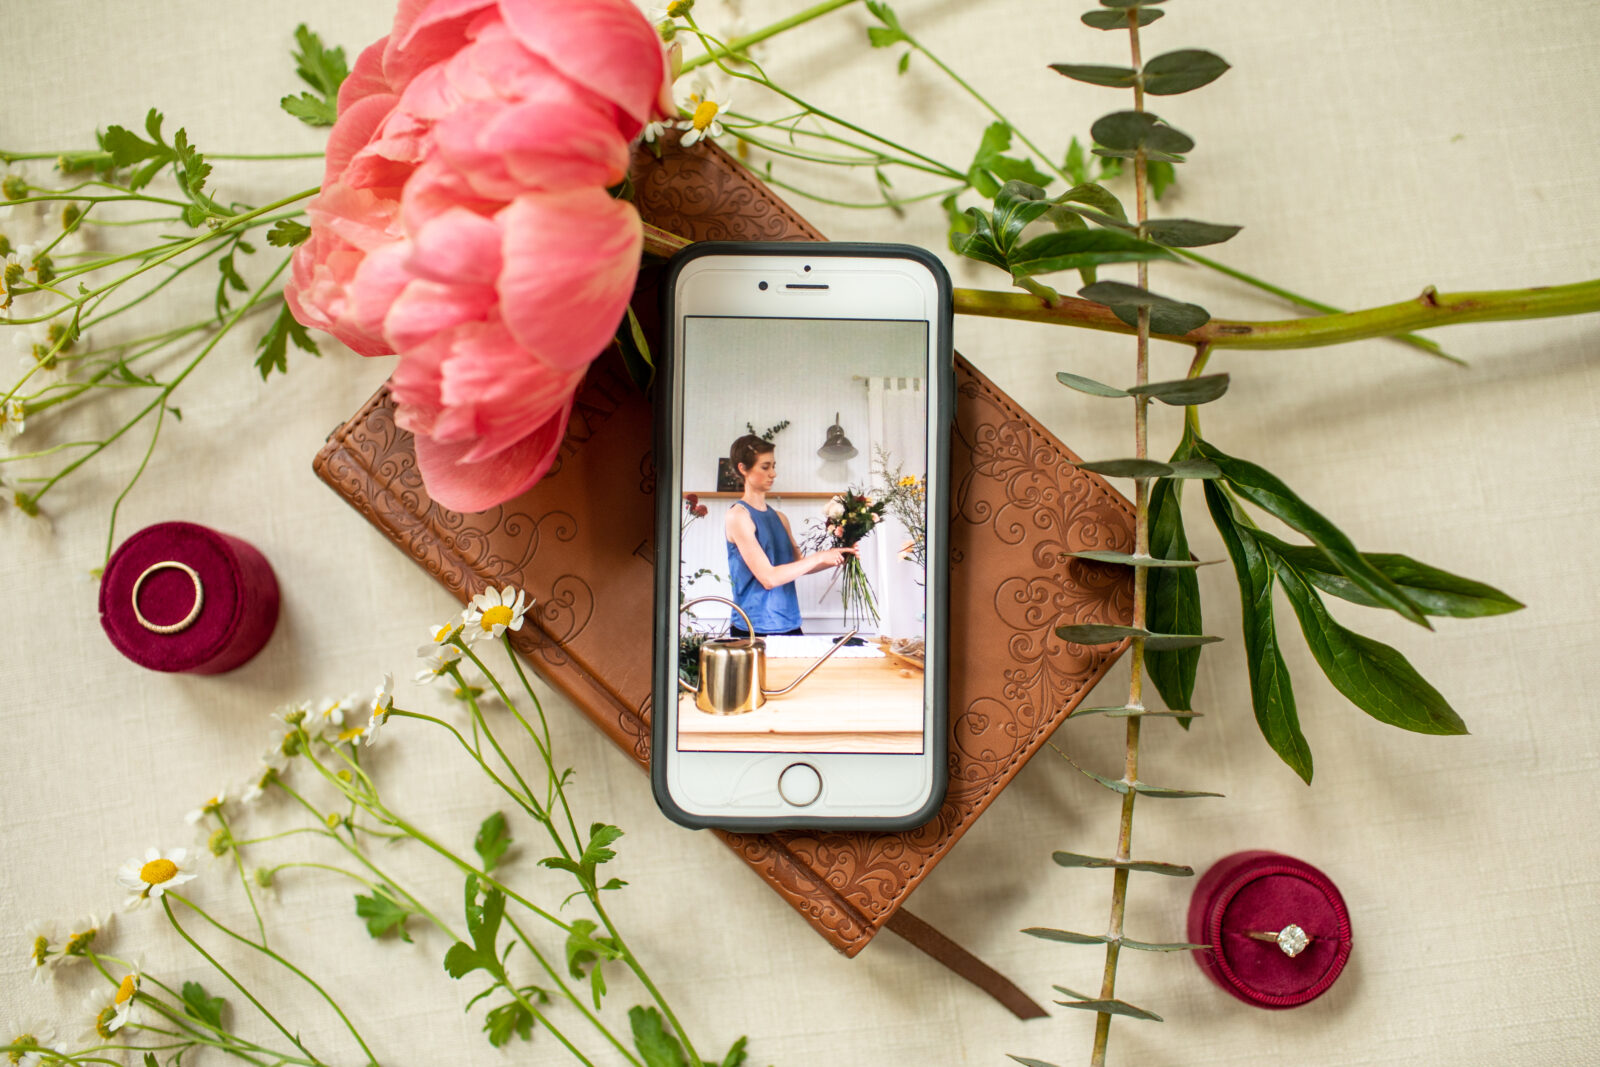
Wait to add dried flowers until you have a good base 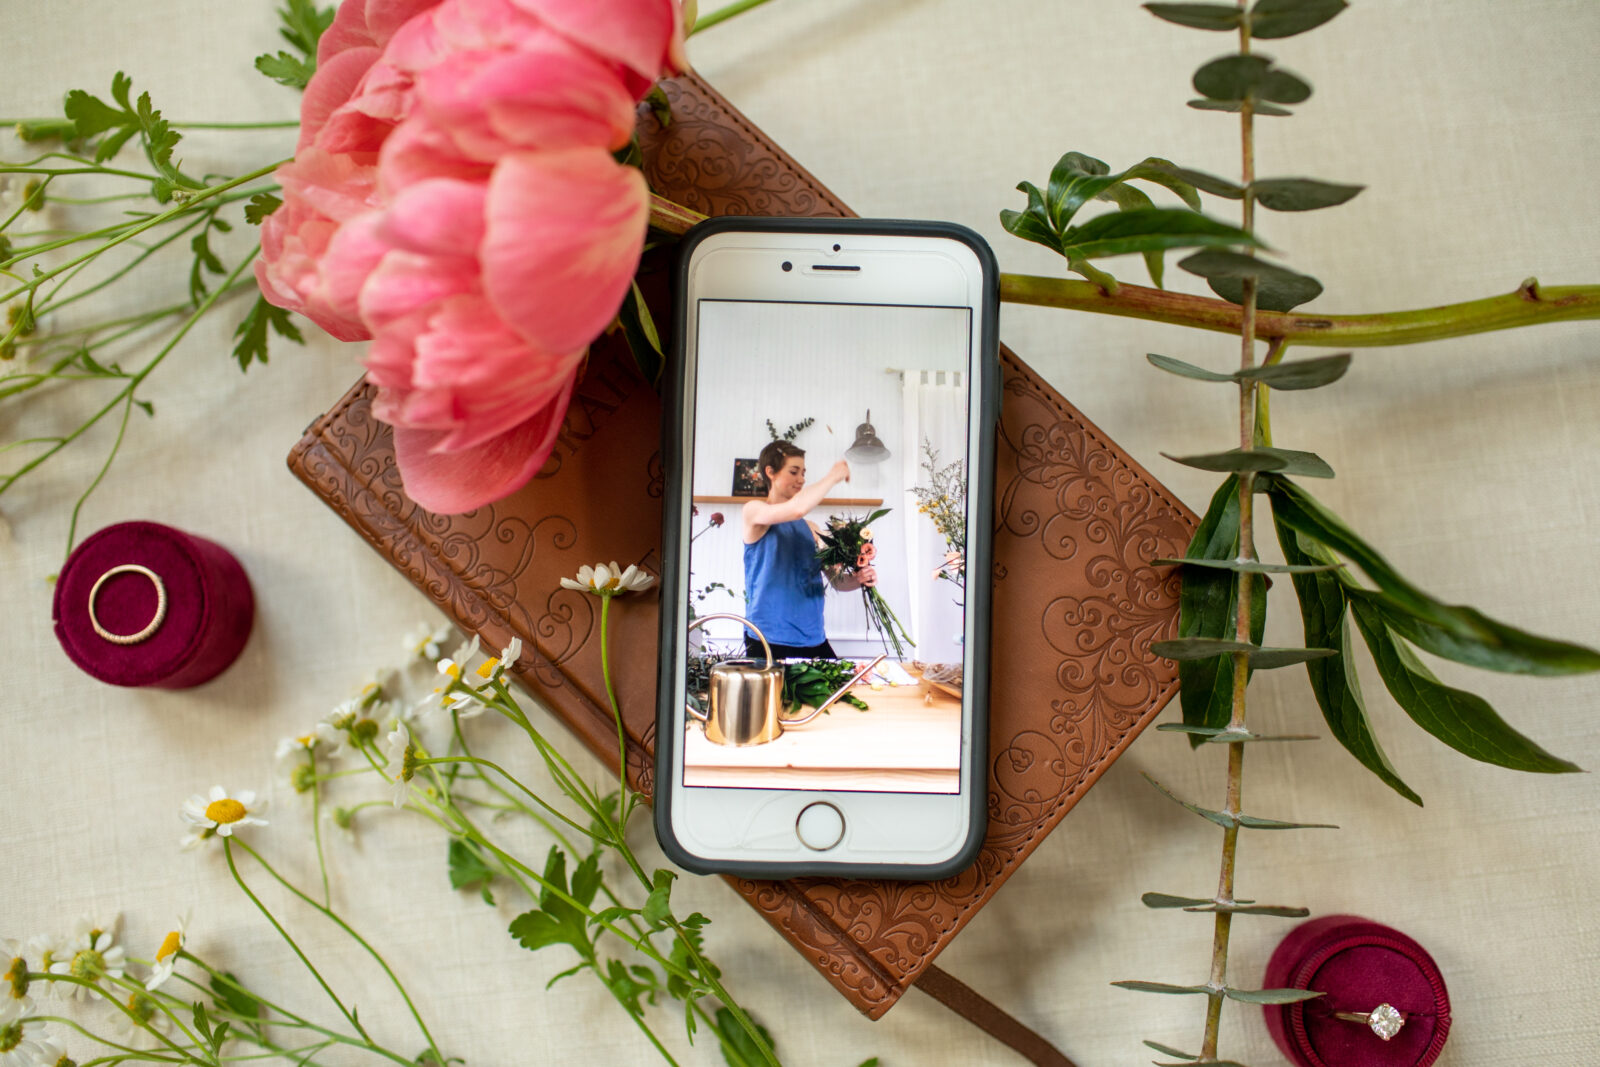
When adding them, keep trying to insert until it goes in easily
STEP 6: FINISH BOUQUET
When you’re satisfied with your arrangement, here are steps you’ll take to finalize your bouquet:
- Use floral tape to bring your arrangement together.
- Keep in mind that the tape is heat-activated and will stick to itself, not the stem
- Tape a 2-3 inches of stems, not too tight or too loose
- Use shears or scissors to cut stems.
- Make sure stems are long enough to sit in water and keep flowers above the top of the vase
- Use ribbon scissors or cloth-cutting scissors to cut ribbon.
- Wrap ribbon, top to bottom, around the bouquet stems
- At the bottom, hold loose end with thumb, and insert 3-4 corsage pins
- Be sure to keep ribbon out of water
- Spray with Crowning Glory (optional)
- Let Dry Before Placing in Cold Place
- Like basement, or refrigerator
- Place in Vase with Ice Water

When you’re satisfied with your arrangement, here are steps you’ll take to finalize your bouquet: 
Use floral tape to bring your arrangement together 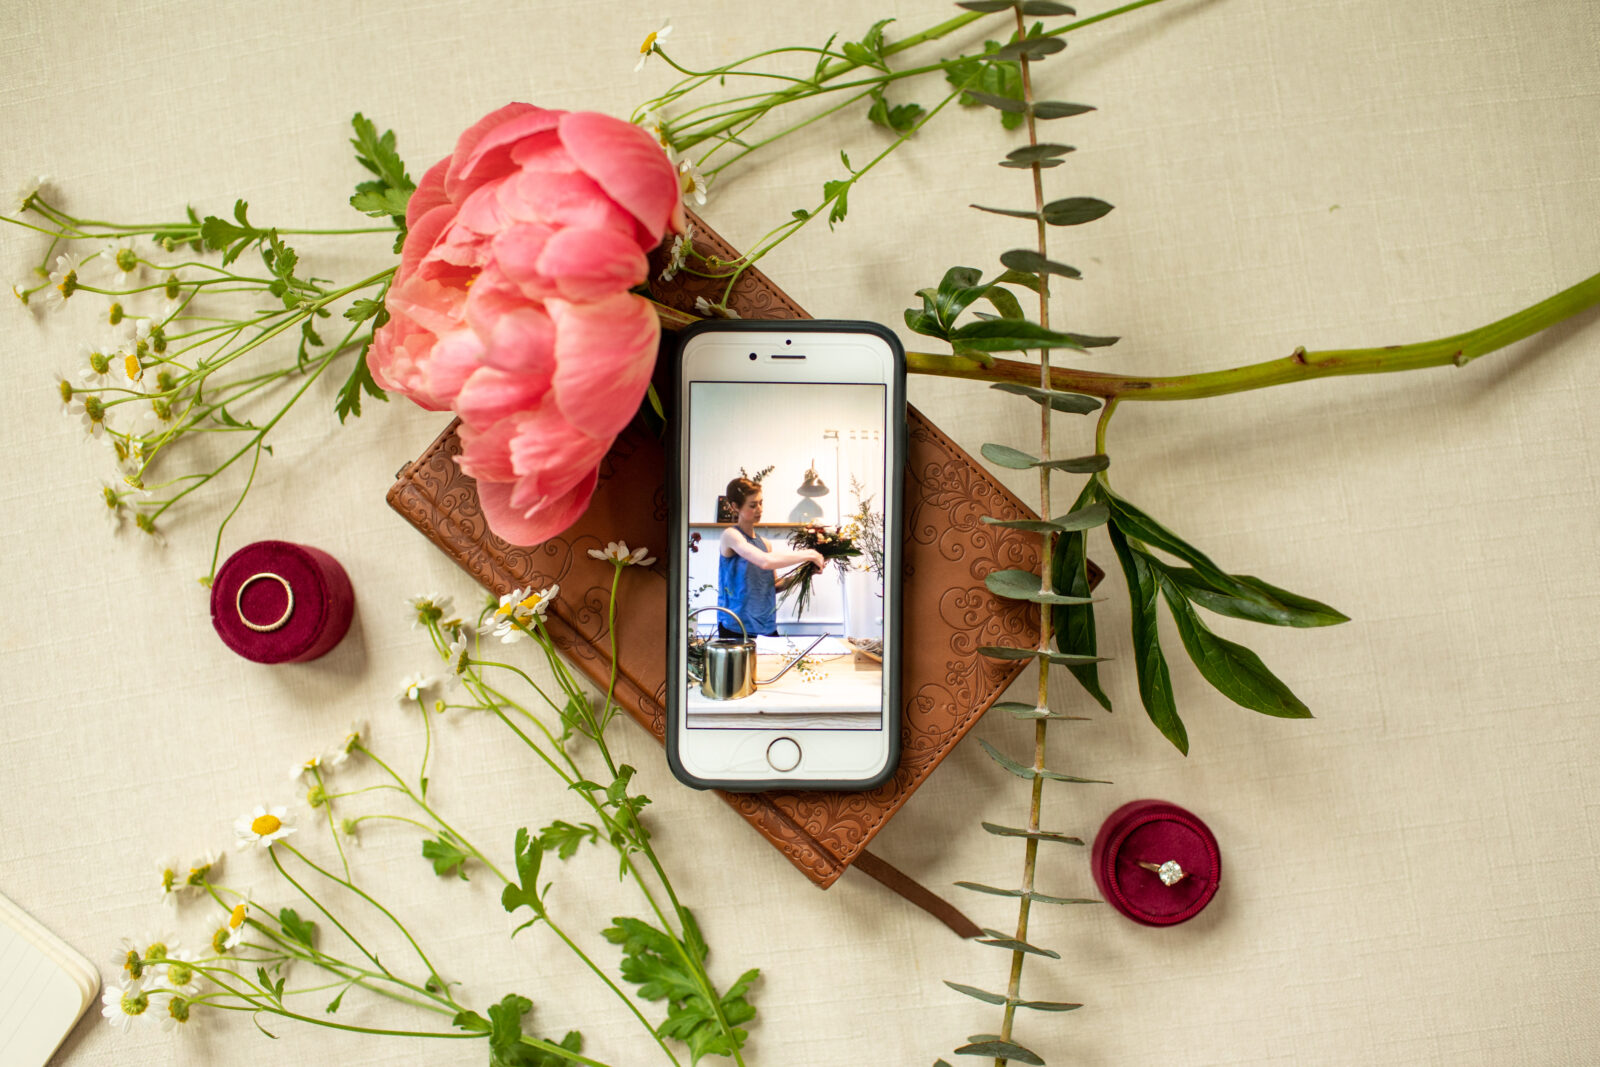
Tape a 2-3 inches of stems, not too tight or too loose 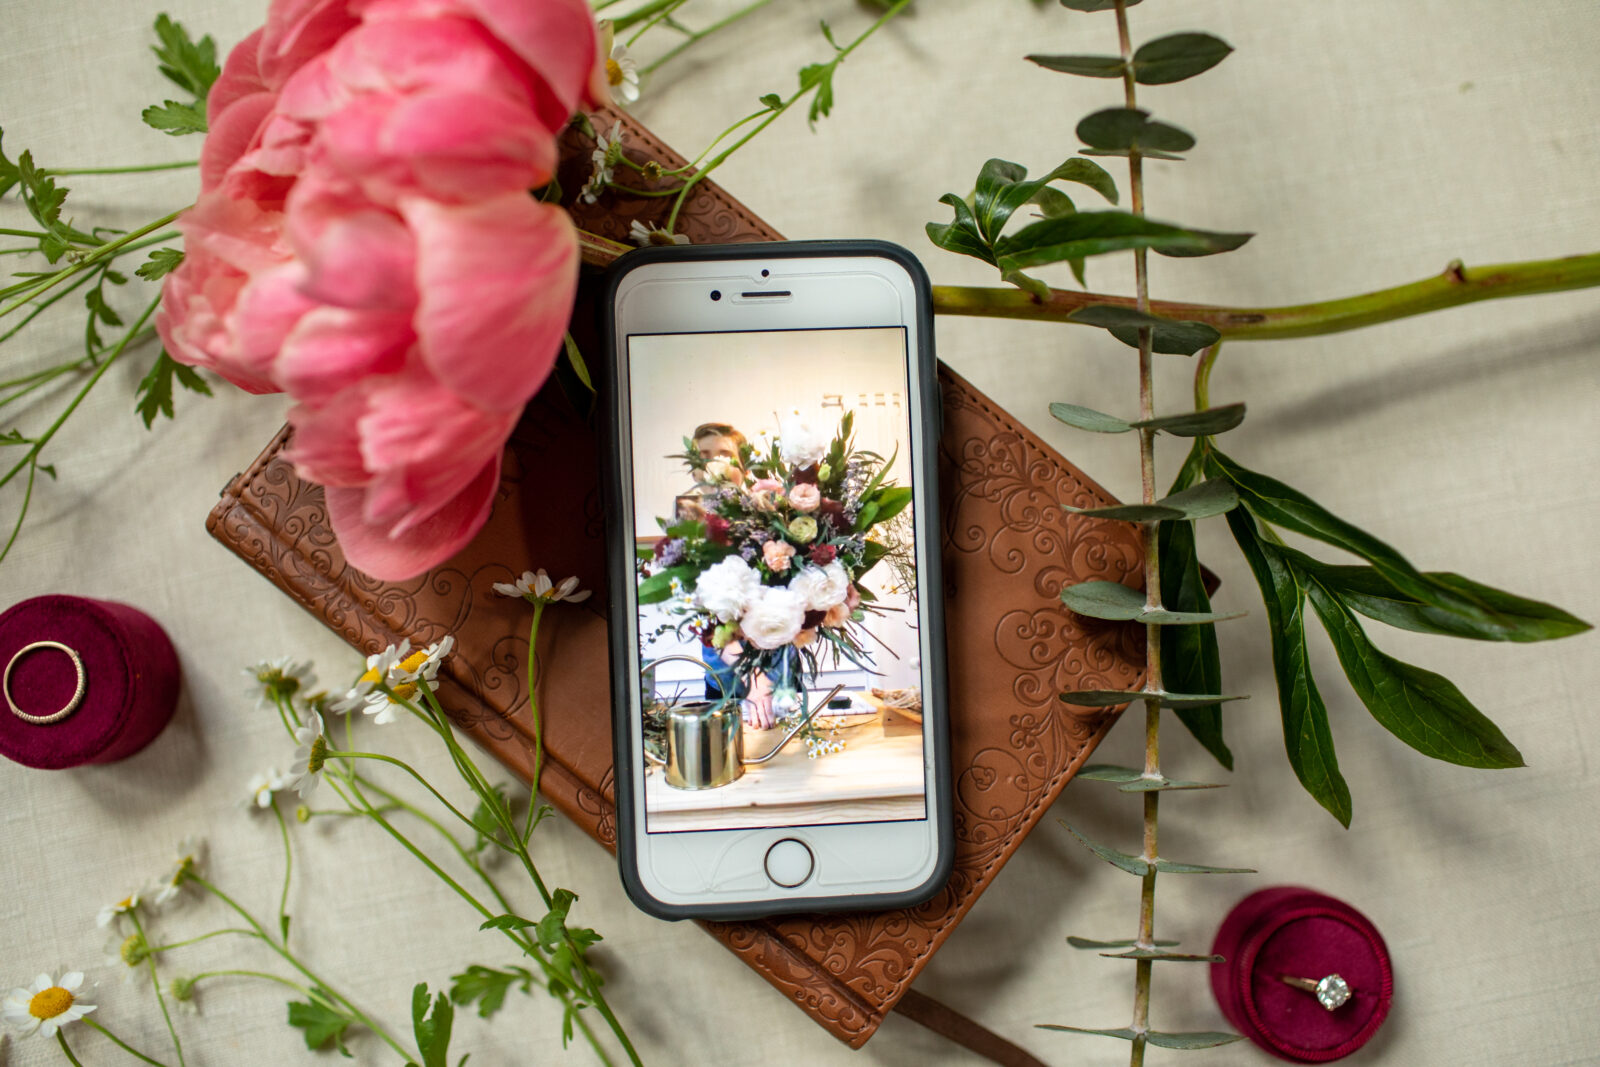
Use shears or scissors to cut stems 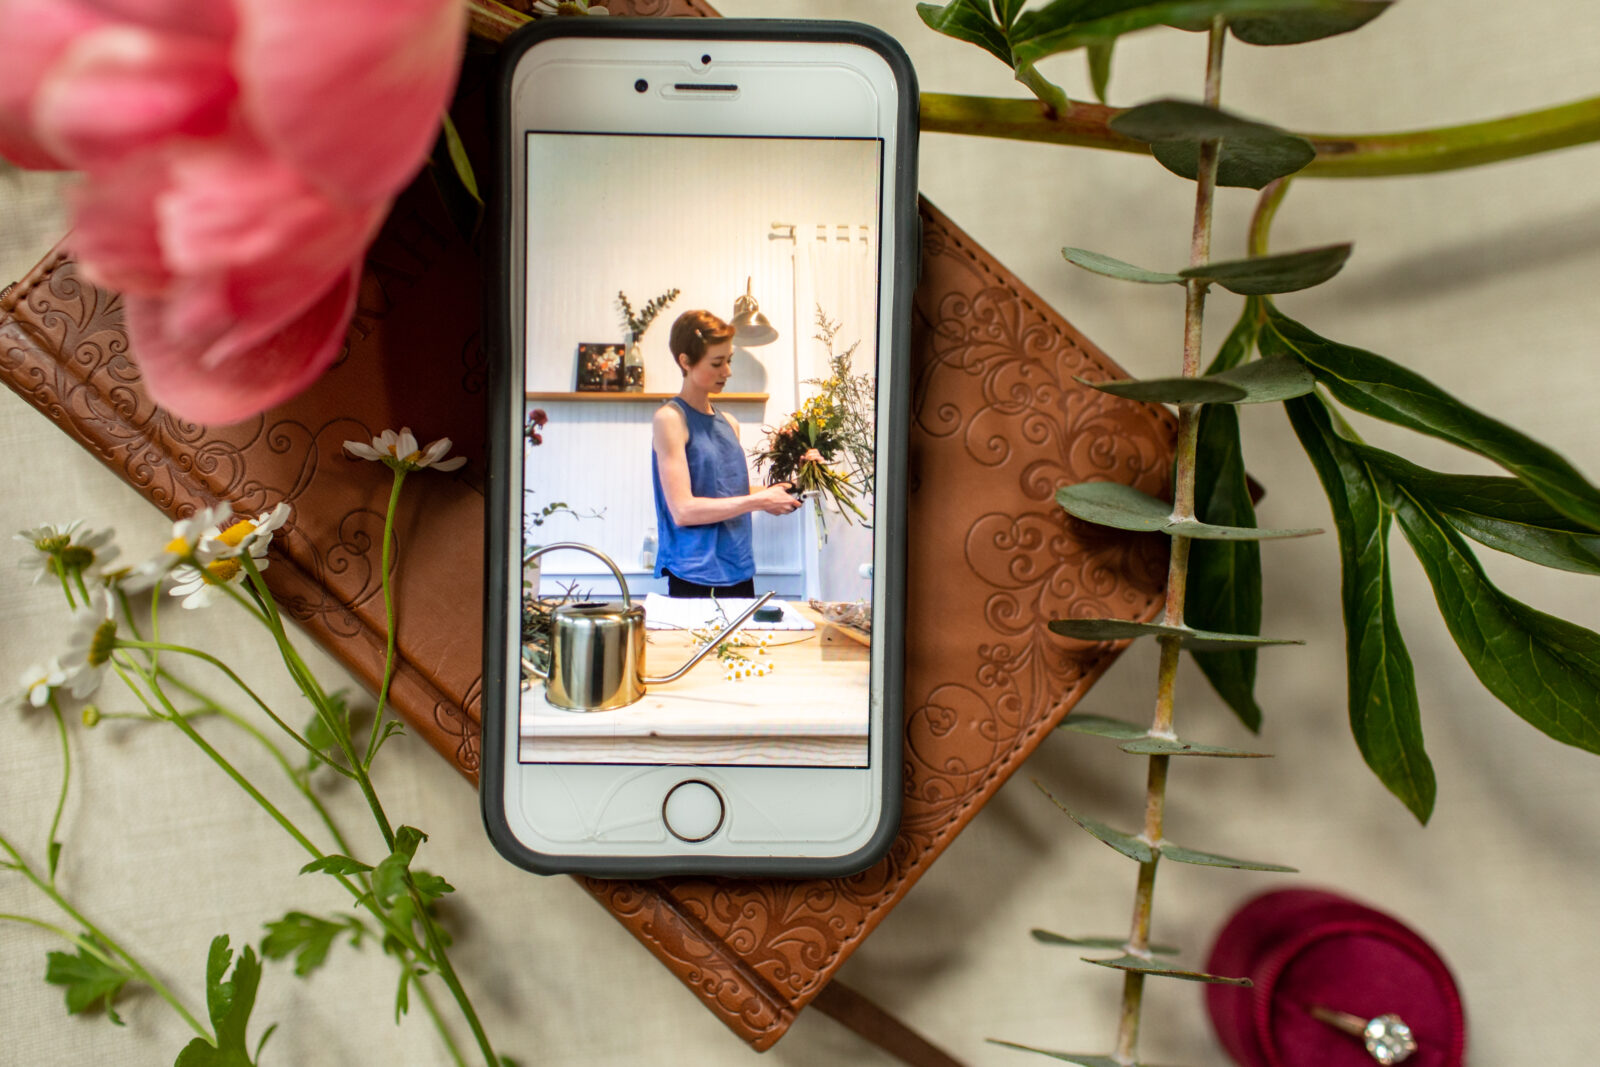
Make sure stems are long enough to sit in water and keep flowers above the top of the vase 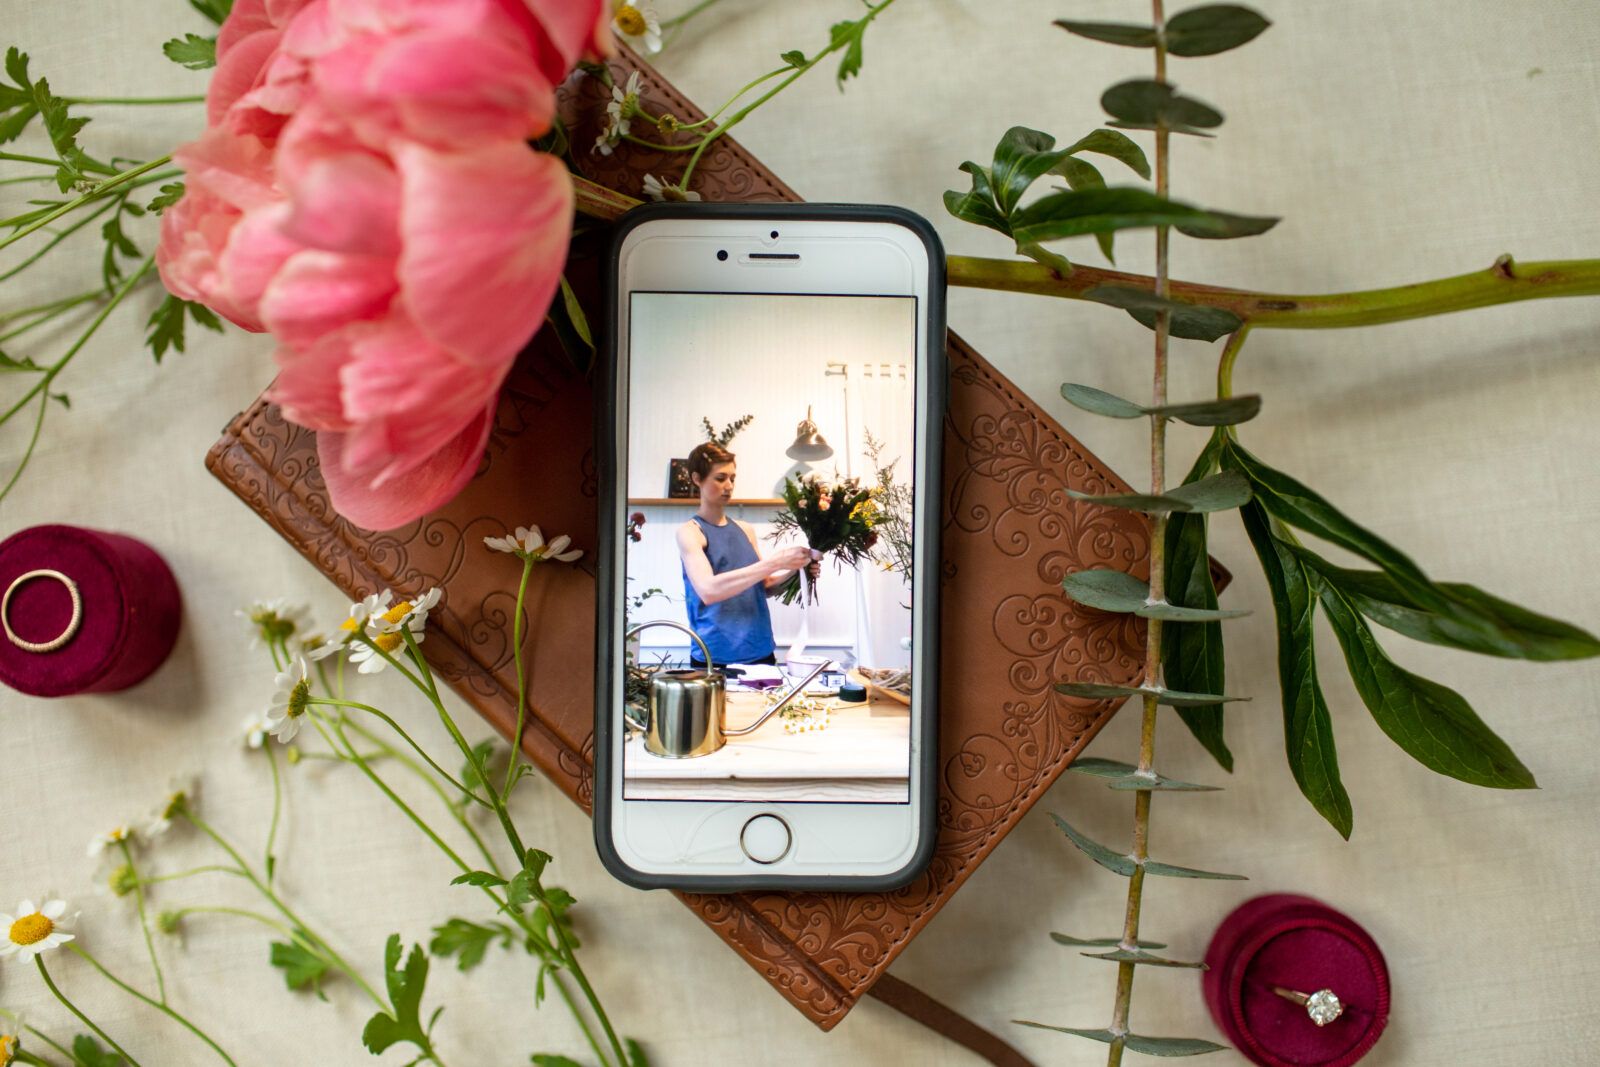
Use ribbon scissors or cloth-cutting scissors to cut ribbon 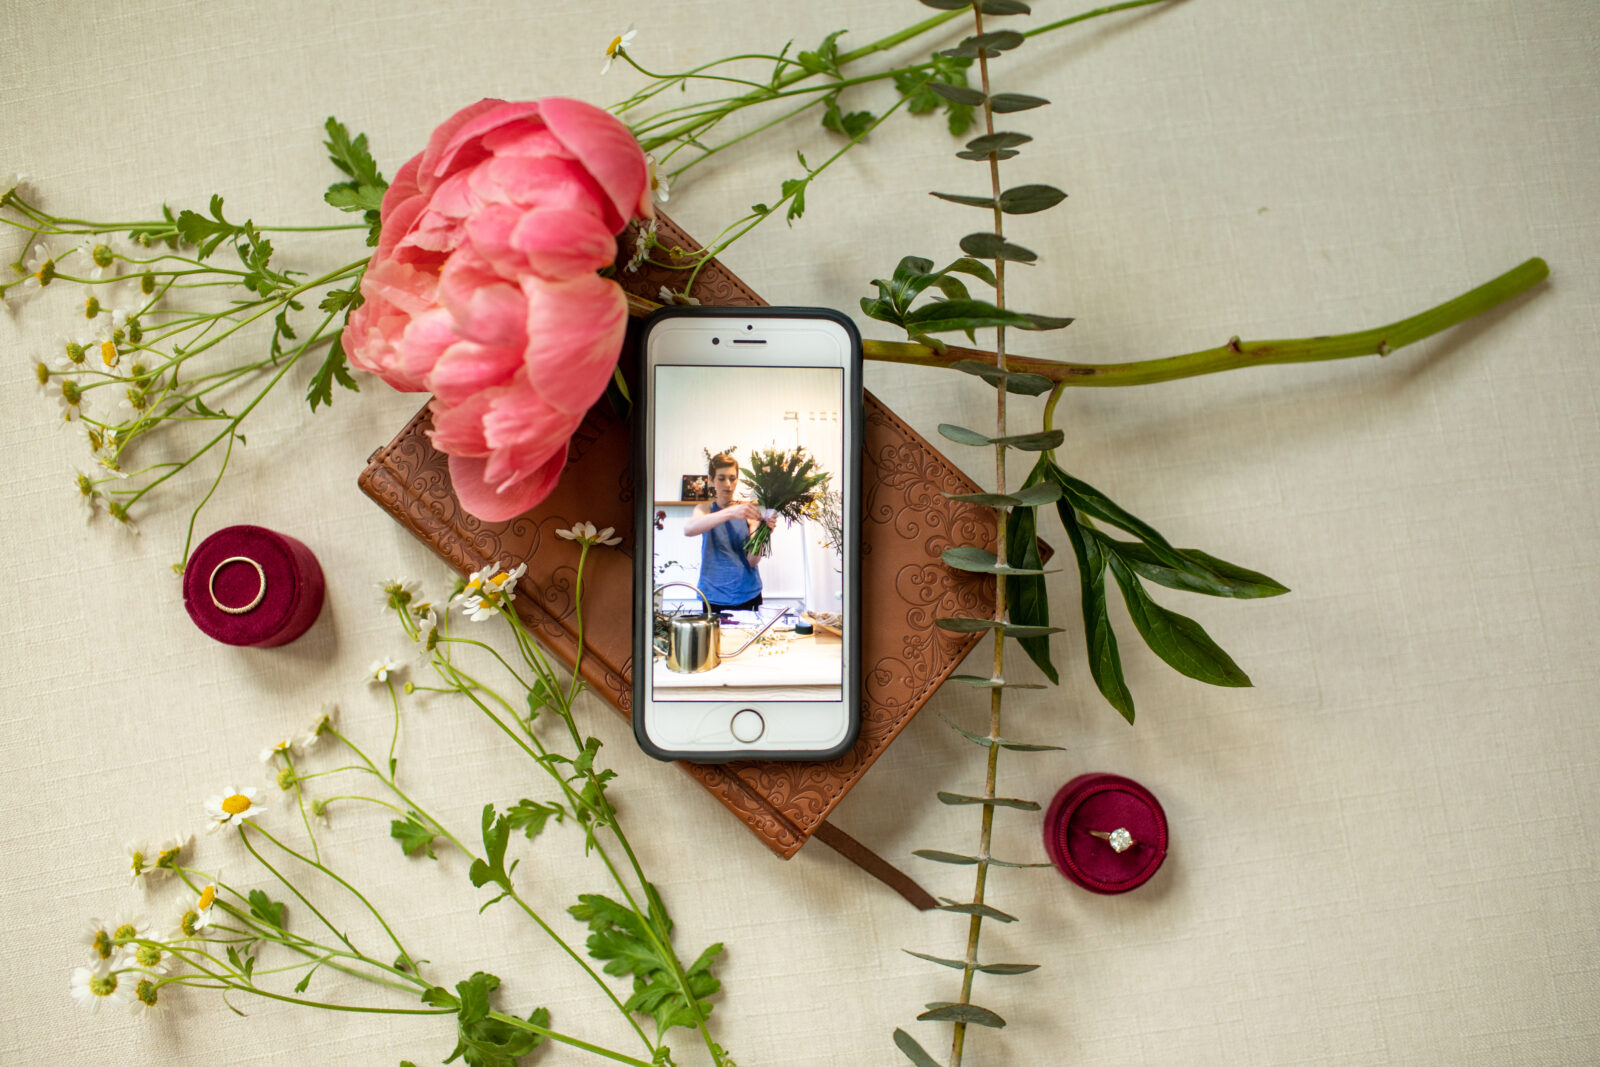
Wrap ribbon, top to bottom, around the bouquet stems 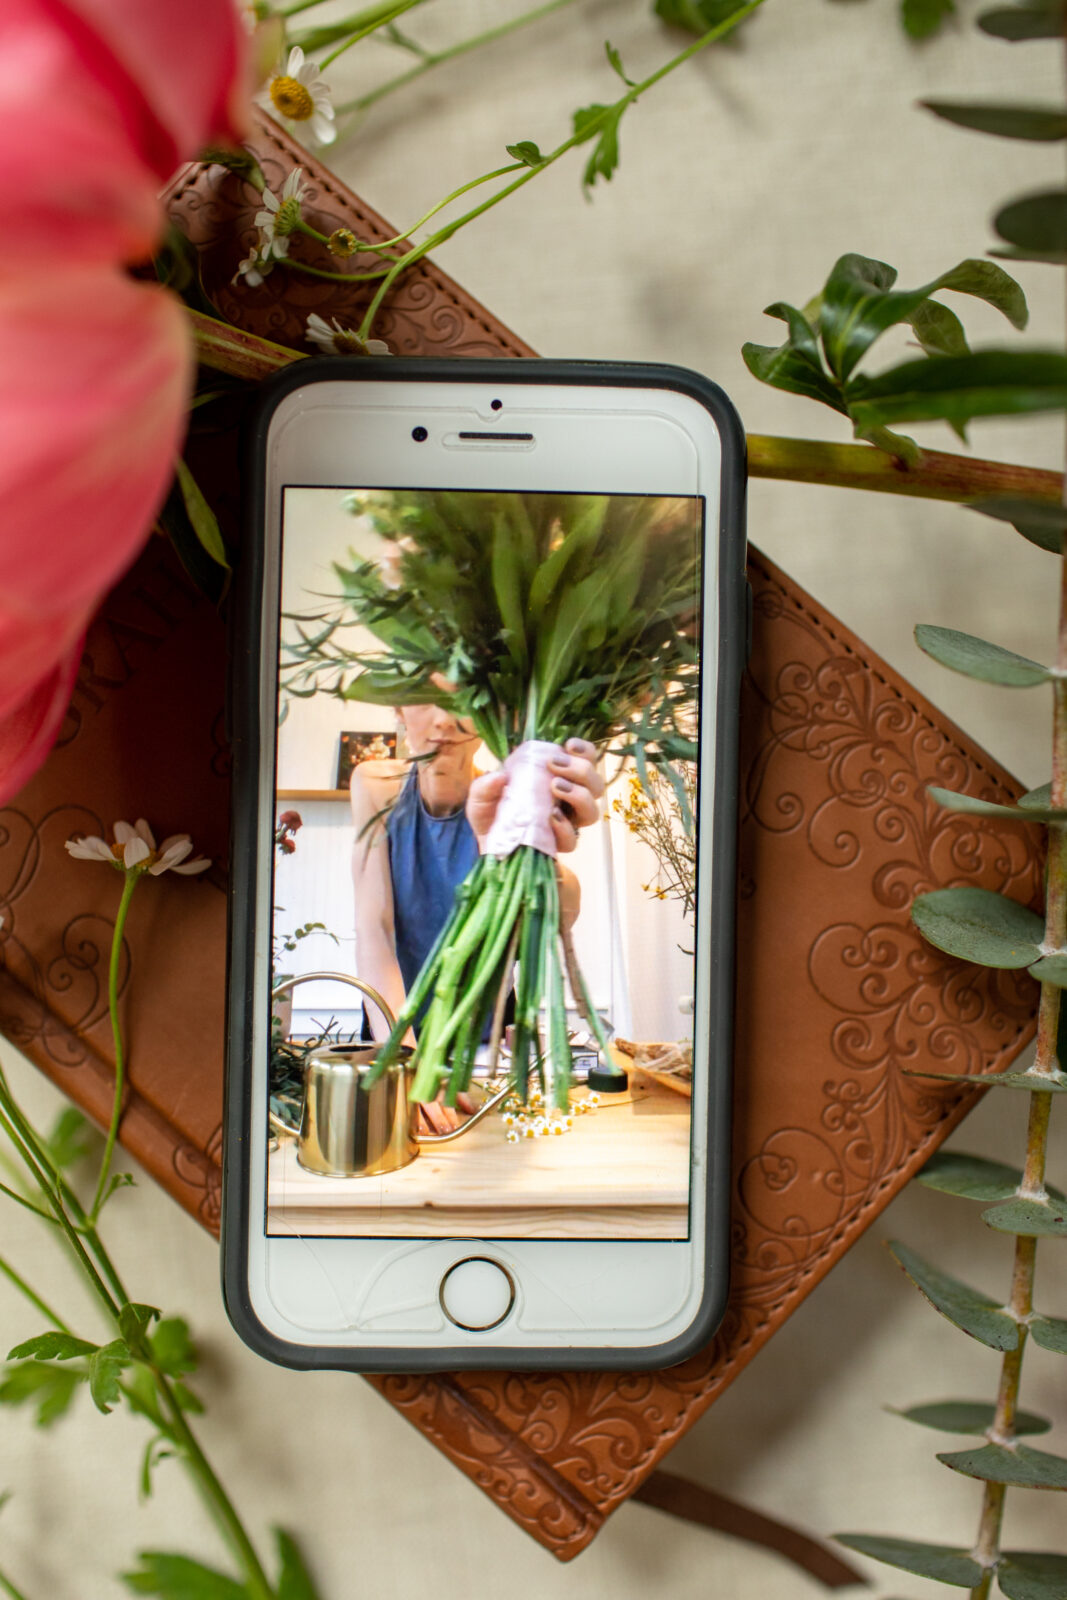
At the bottom, hold loose end with thumb, and insert 3-4 corsage pins 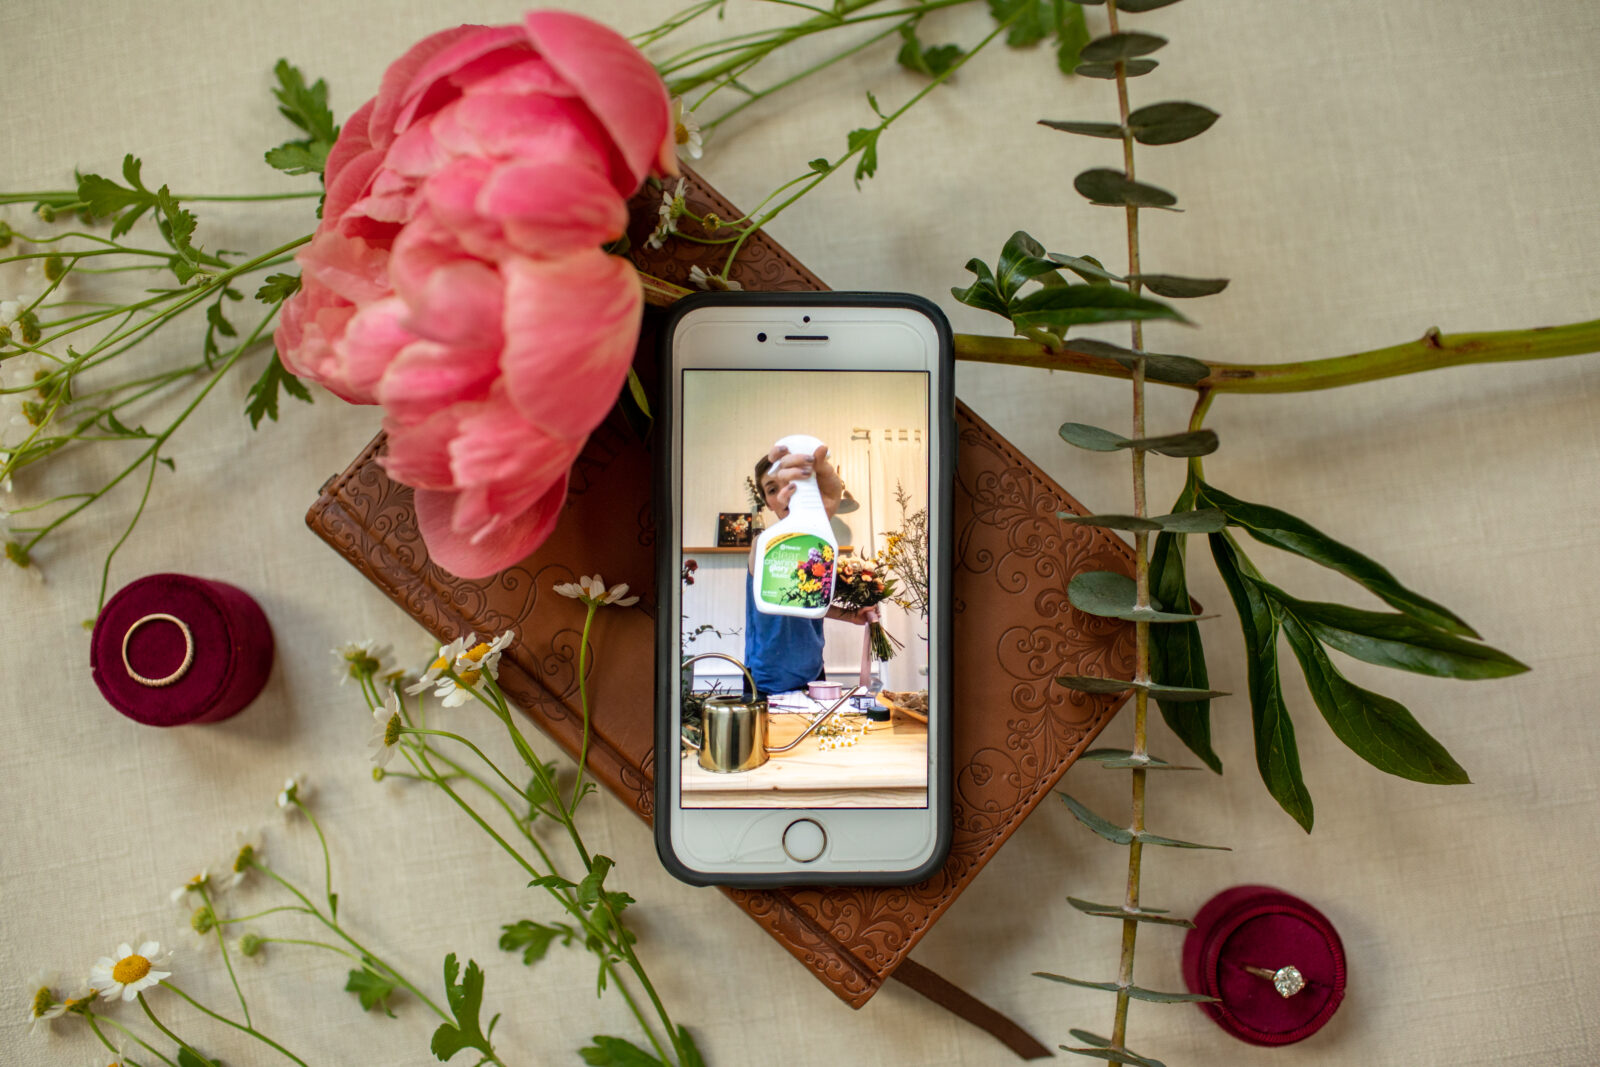
Spray with Crowning Glory (optional) 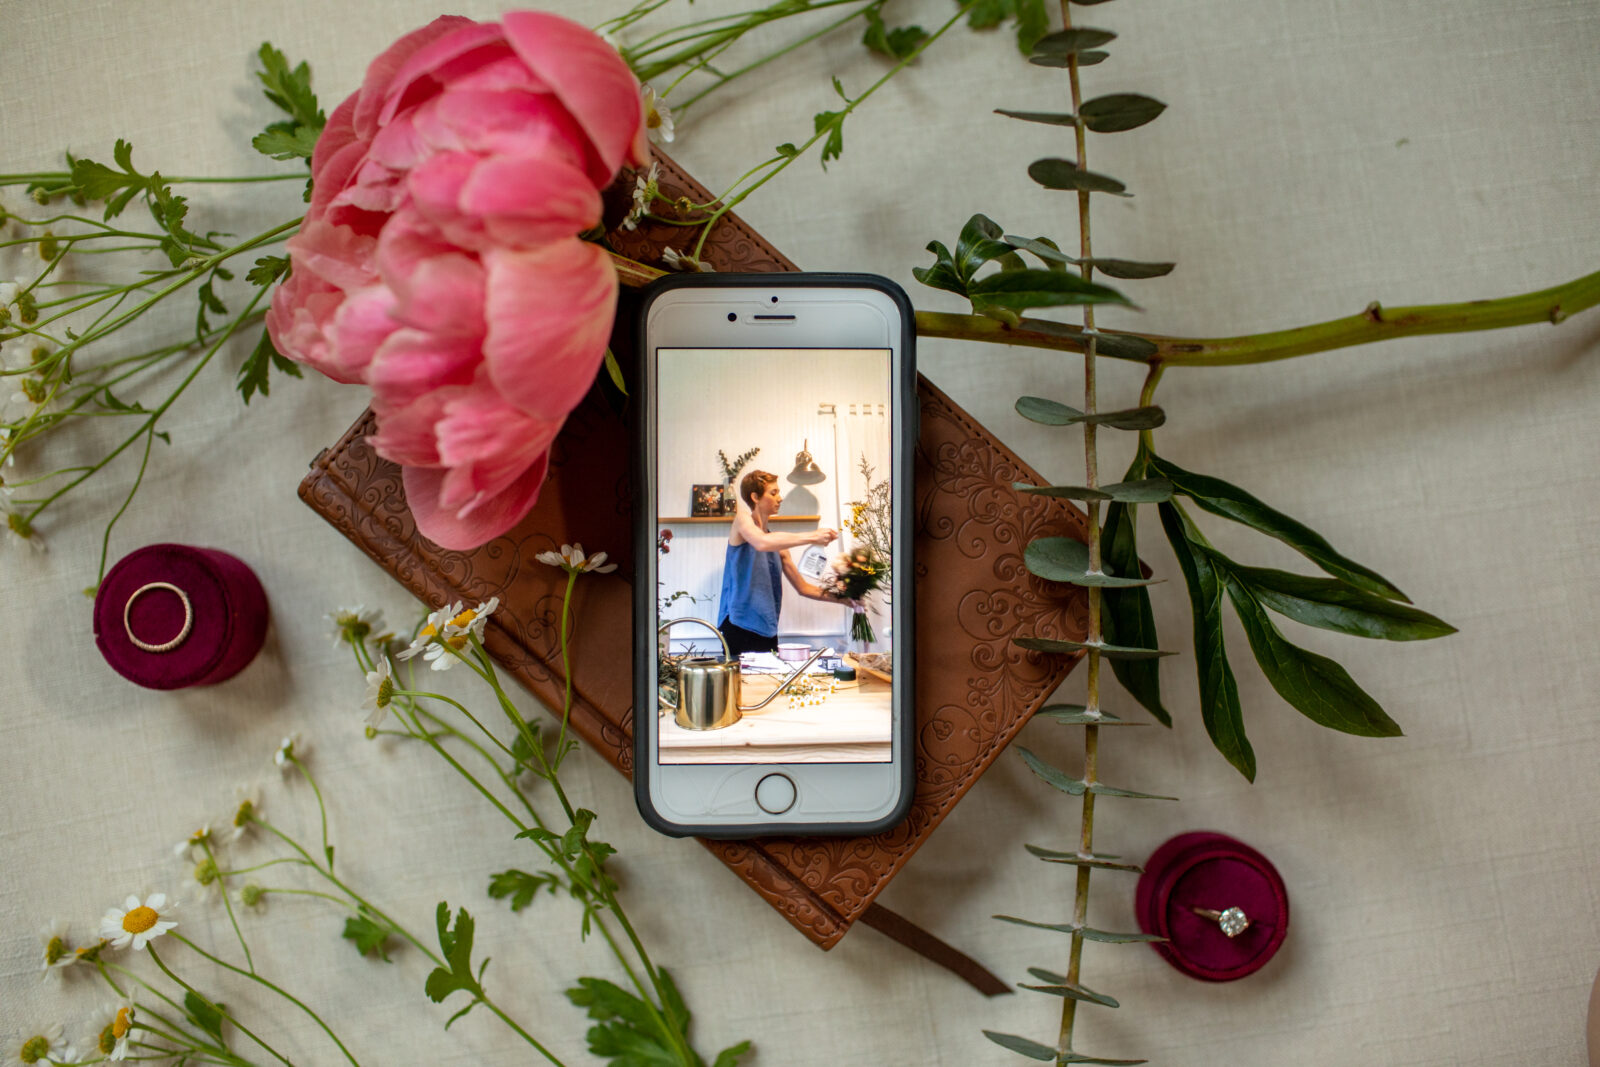
Spray with Crowning Glory (optional) 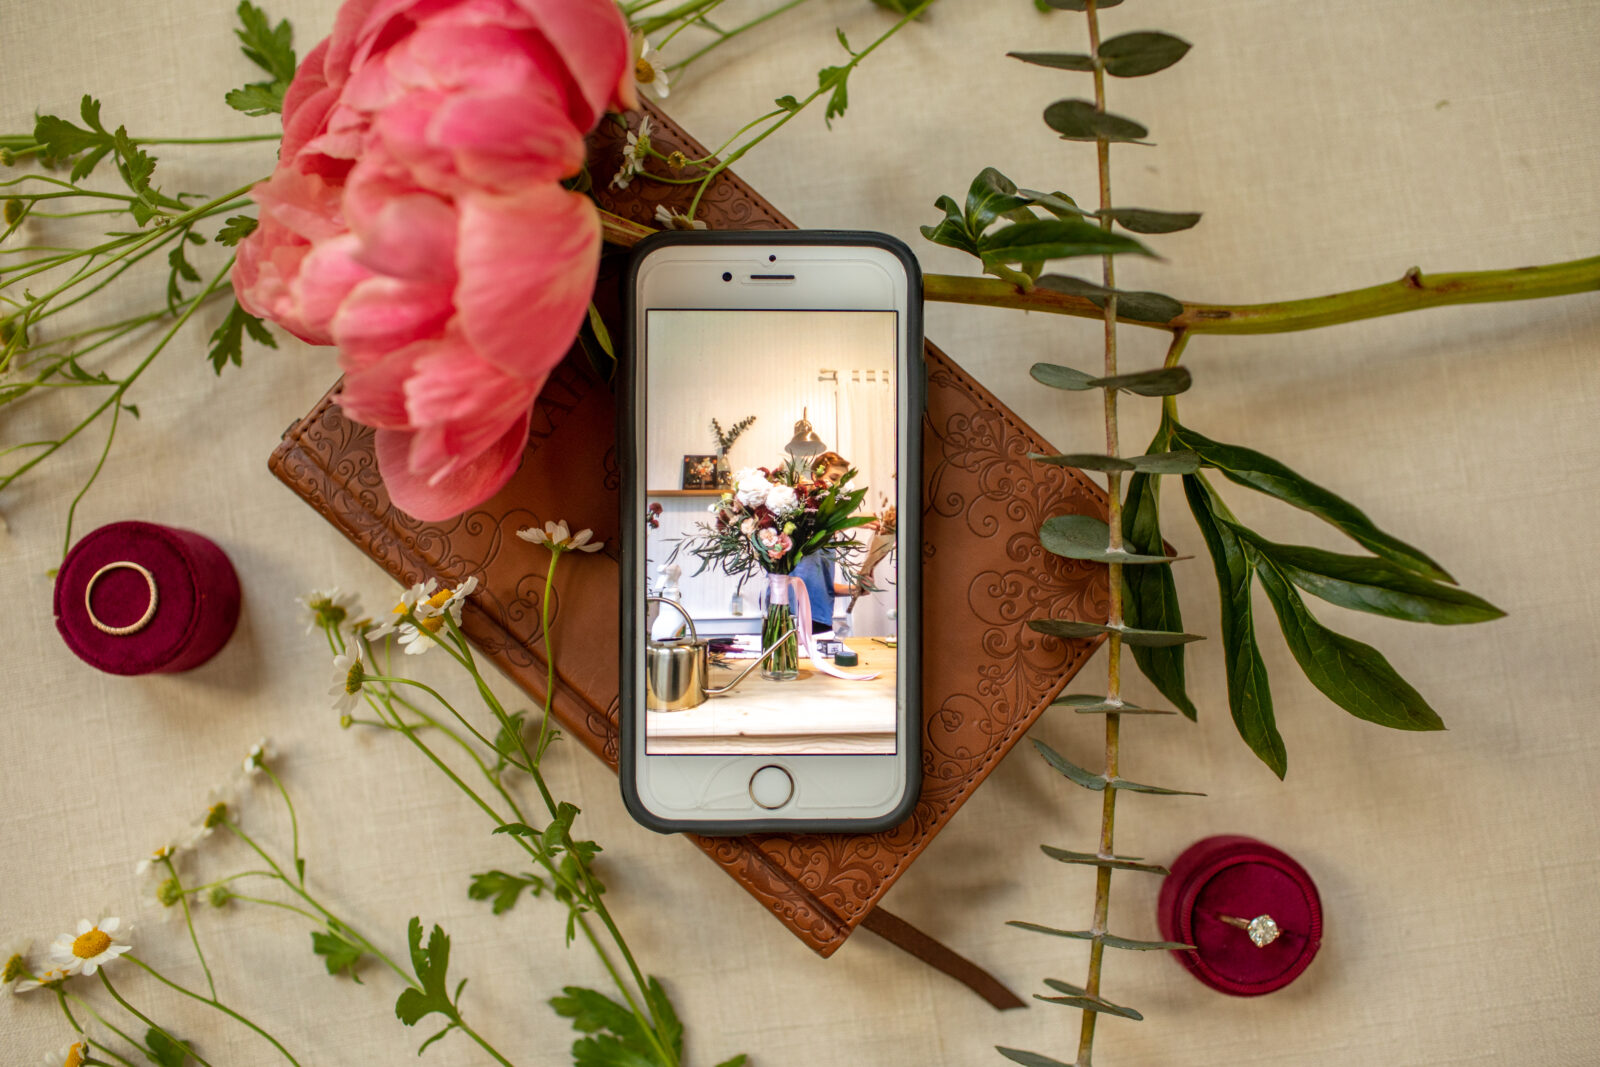

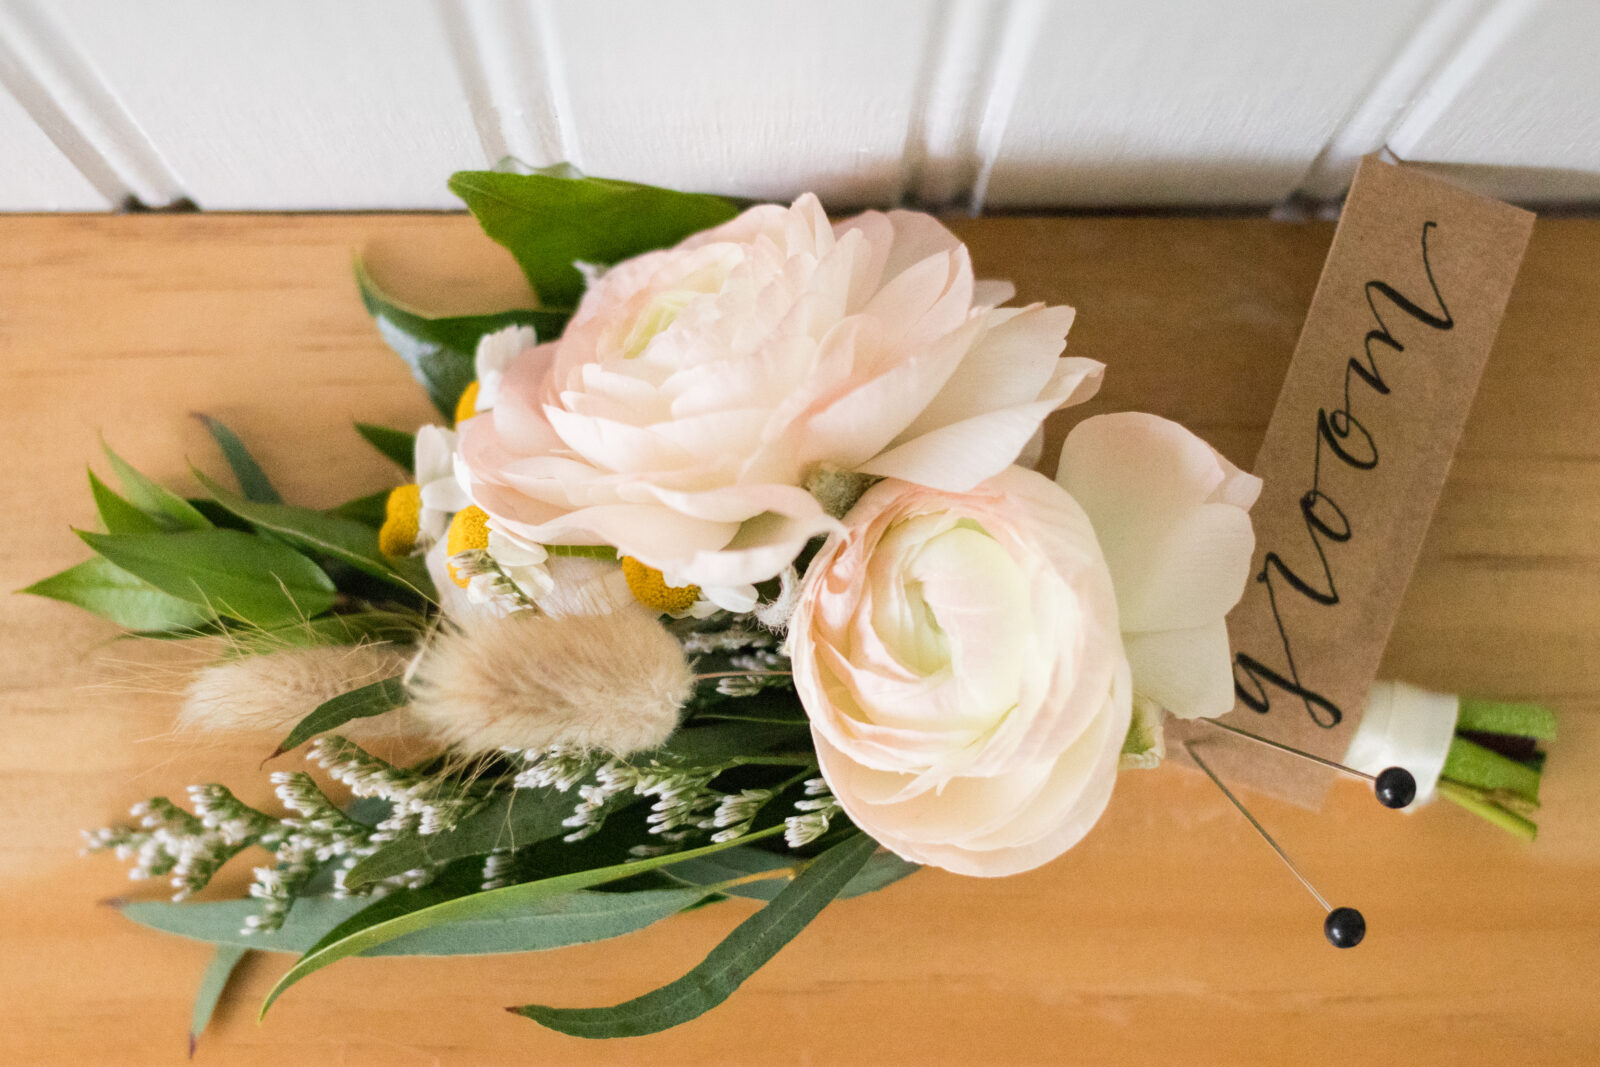
STEP 7: DESIGN BOUTONNIERE
When you’re ready to tackle your boutonnieres, follow the steps outlined below:
- Choose what florals you’ll be using
- Focal + accent flowers, just greenery, or a combination!
- Less is more! The heavier the arrangement, the more likely it is to be floppy and crooked
- Lay out florals on microfiber towel and clip them to be smaller
- Try to preserve stems as much as possible
- Watch for bug-eaten leaves + be choosy
- Prep greenery by cutting stems from the top
- Start with greenery + use as backdrop
- Add flowers in any order that looks best
- PRO TIP: Intersperse the accent both behind and in front of focal flower
Choose what florals you’ll be using 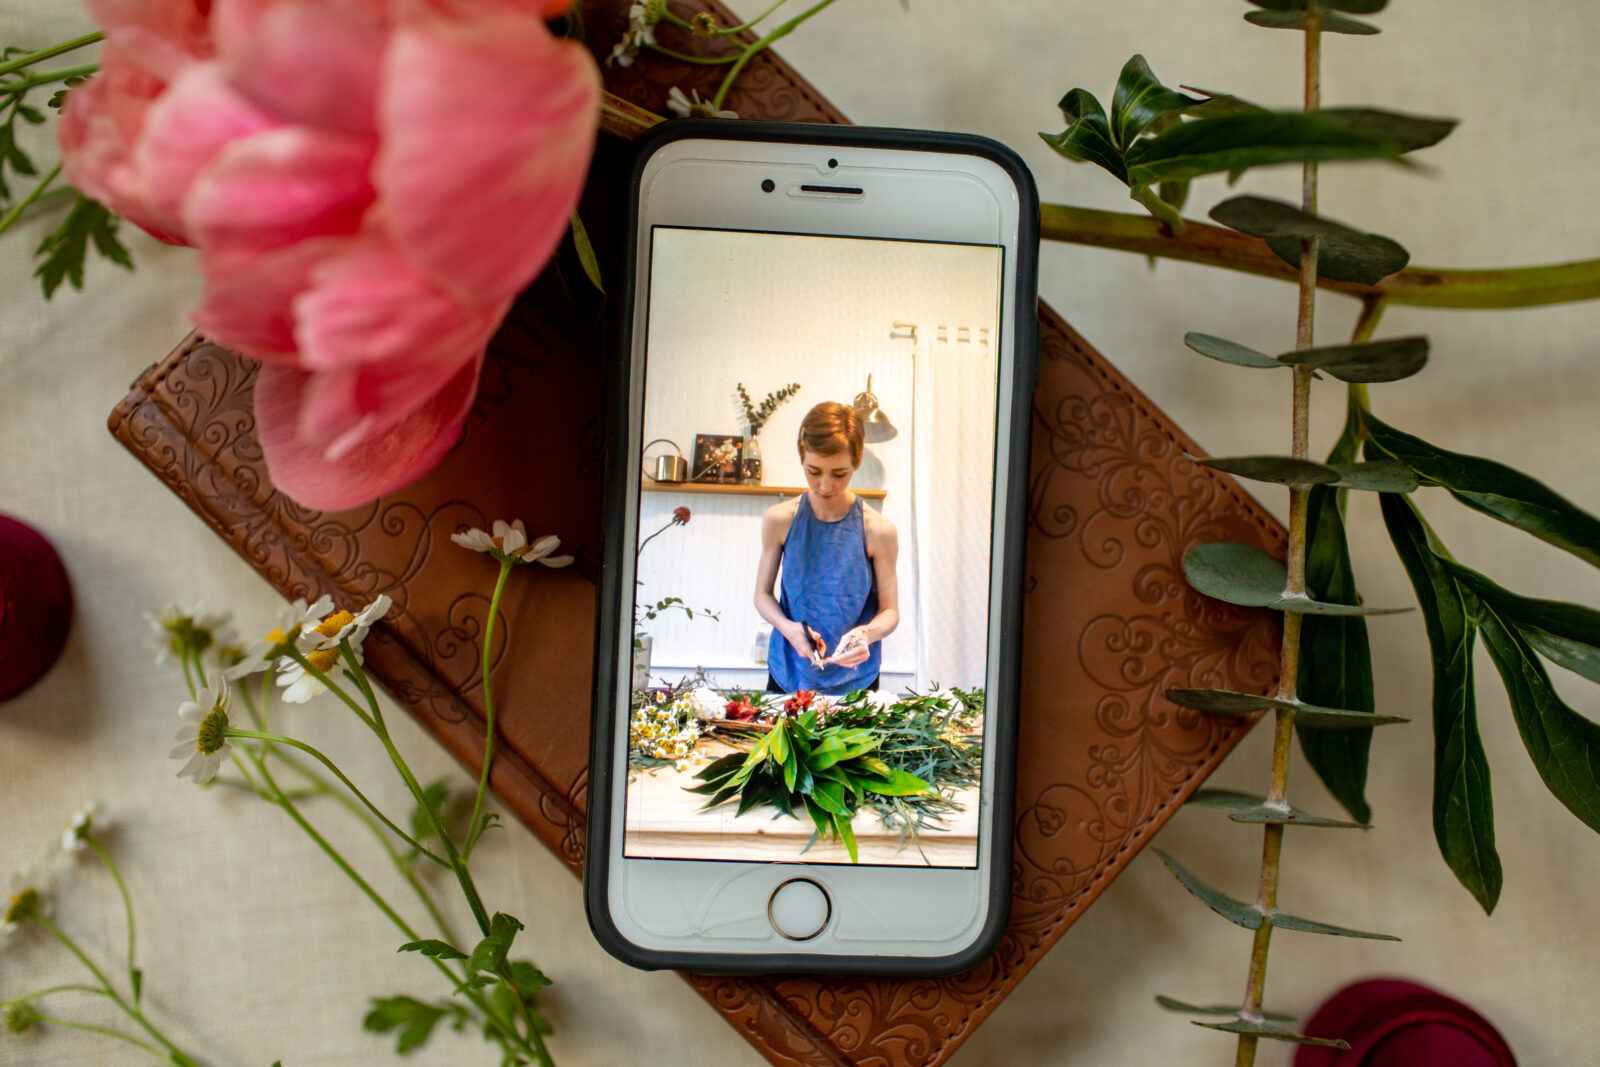
Lay out florals on microfiber towel and clip them to be smaller 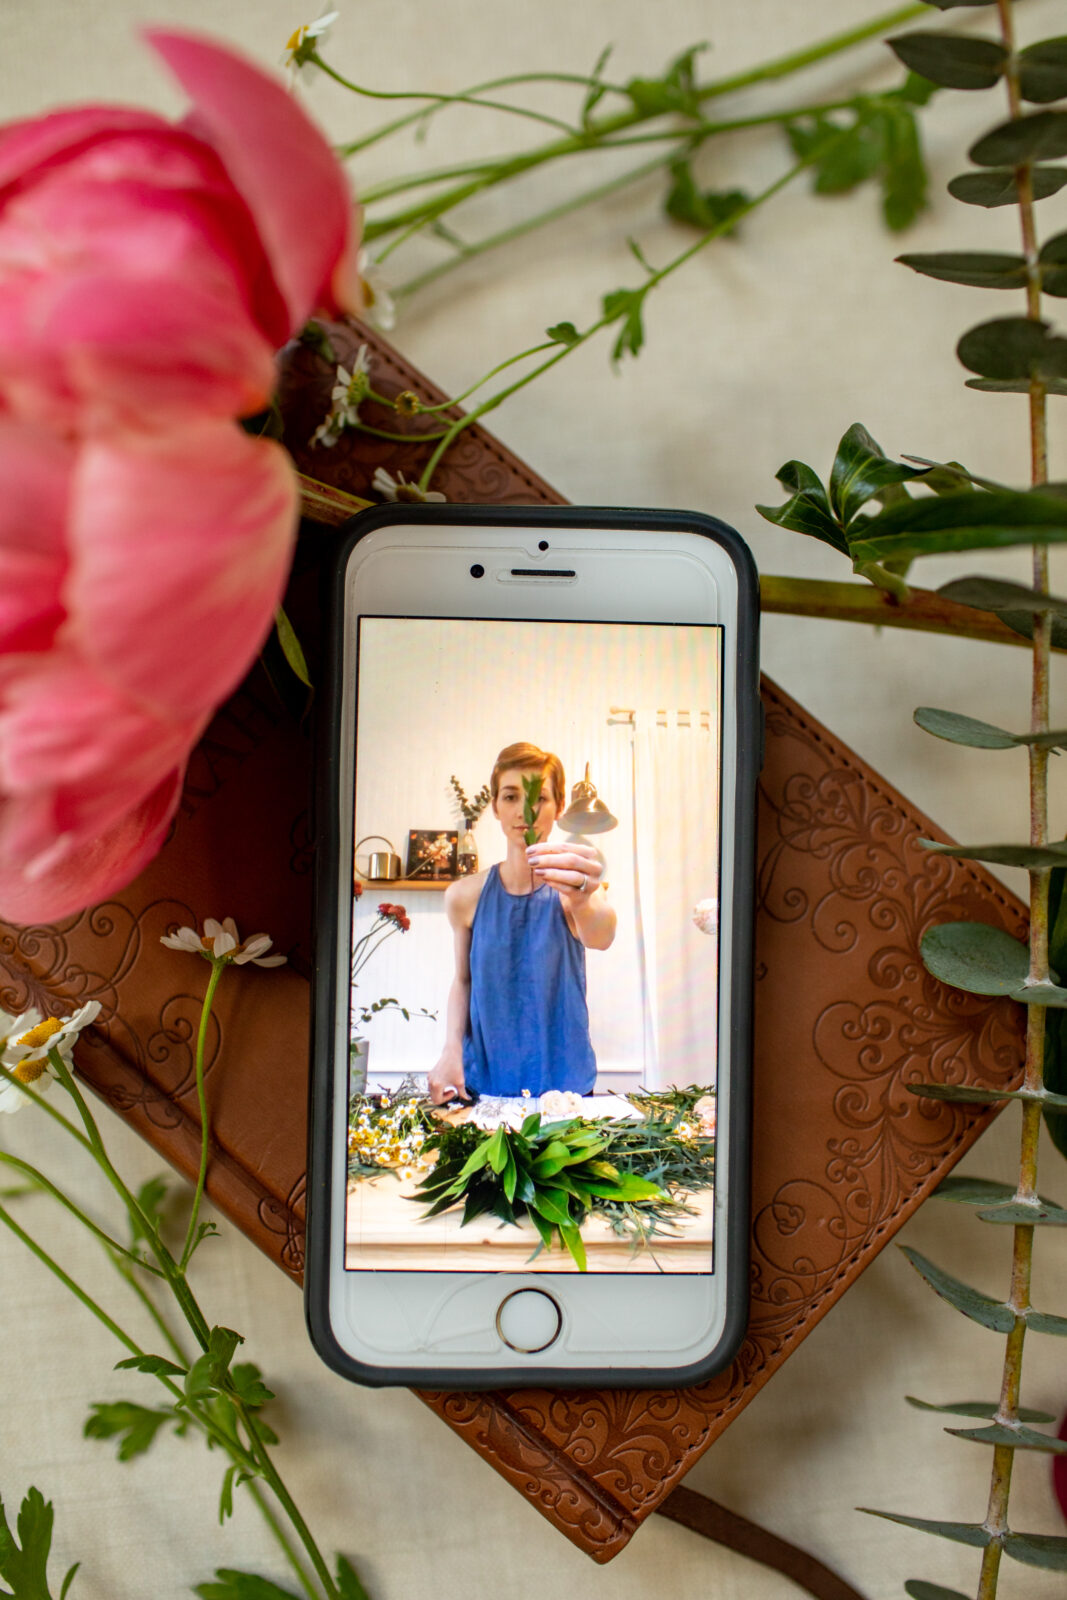
Prep greenery by cutting stems from the top 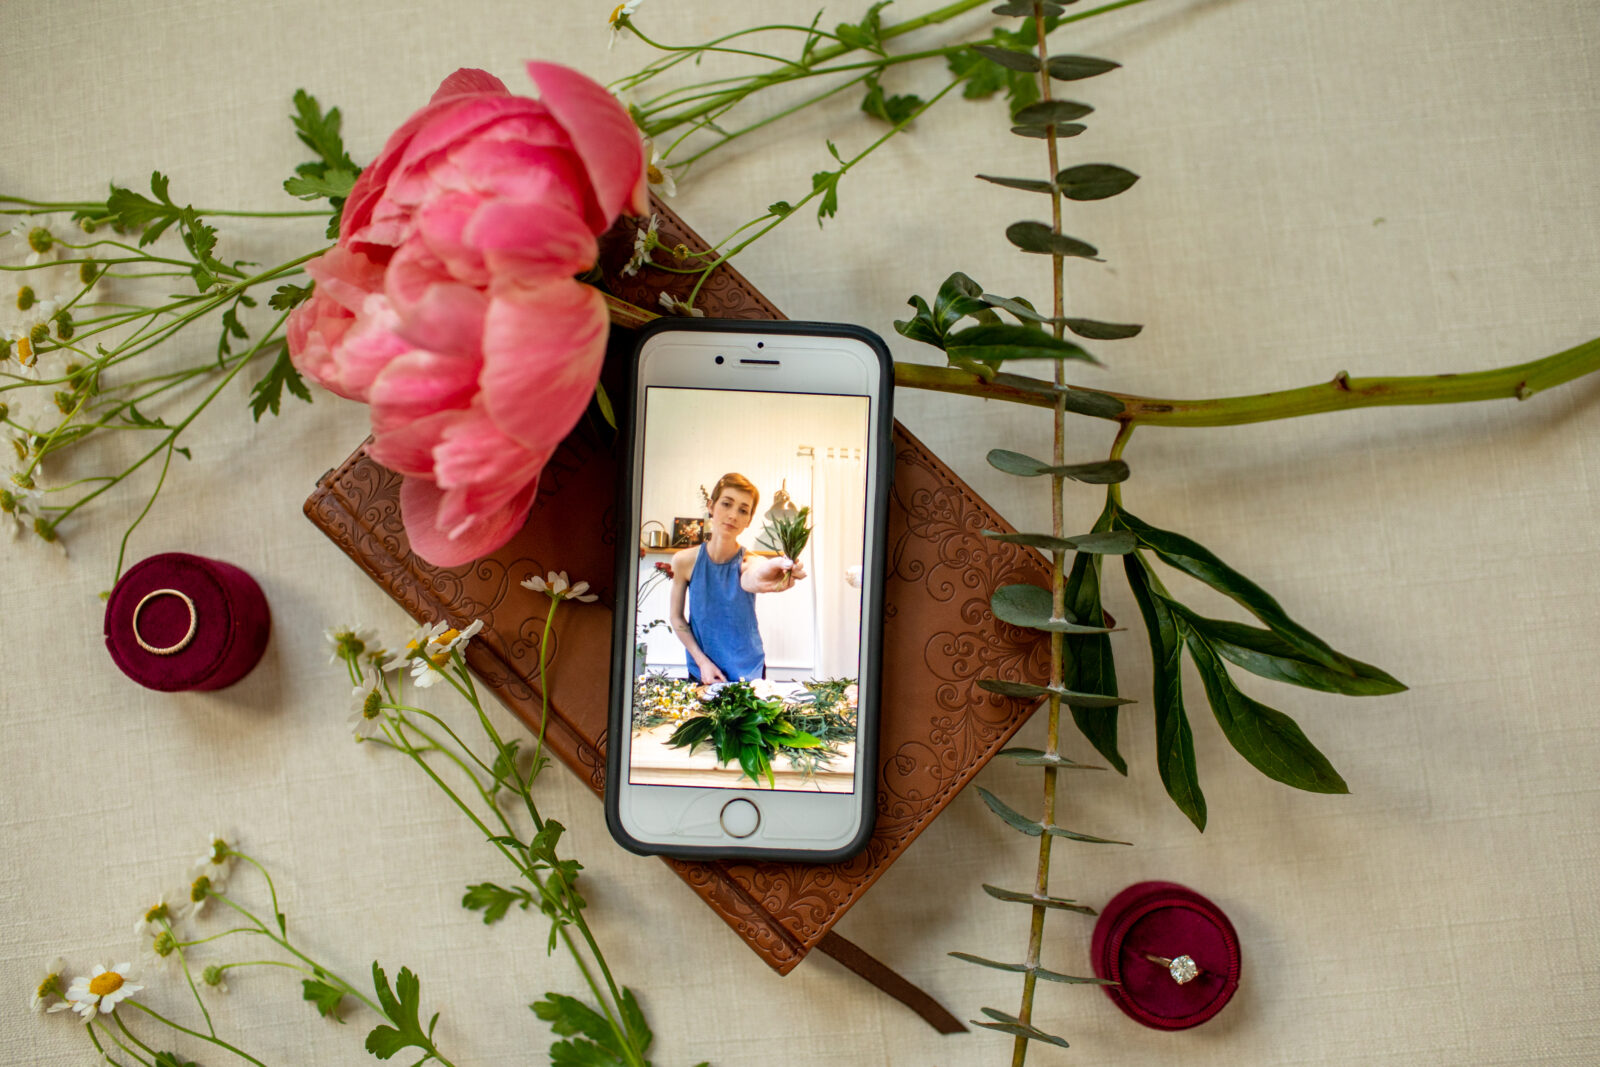
Start with greenery + use as backdrop 
Add flowers in any order that looks best
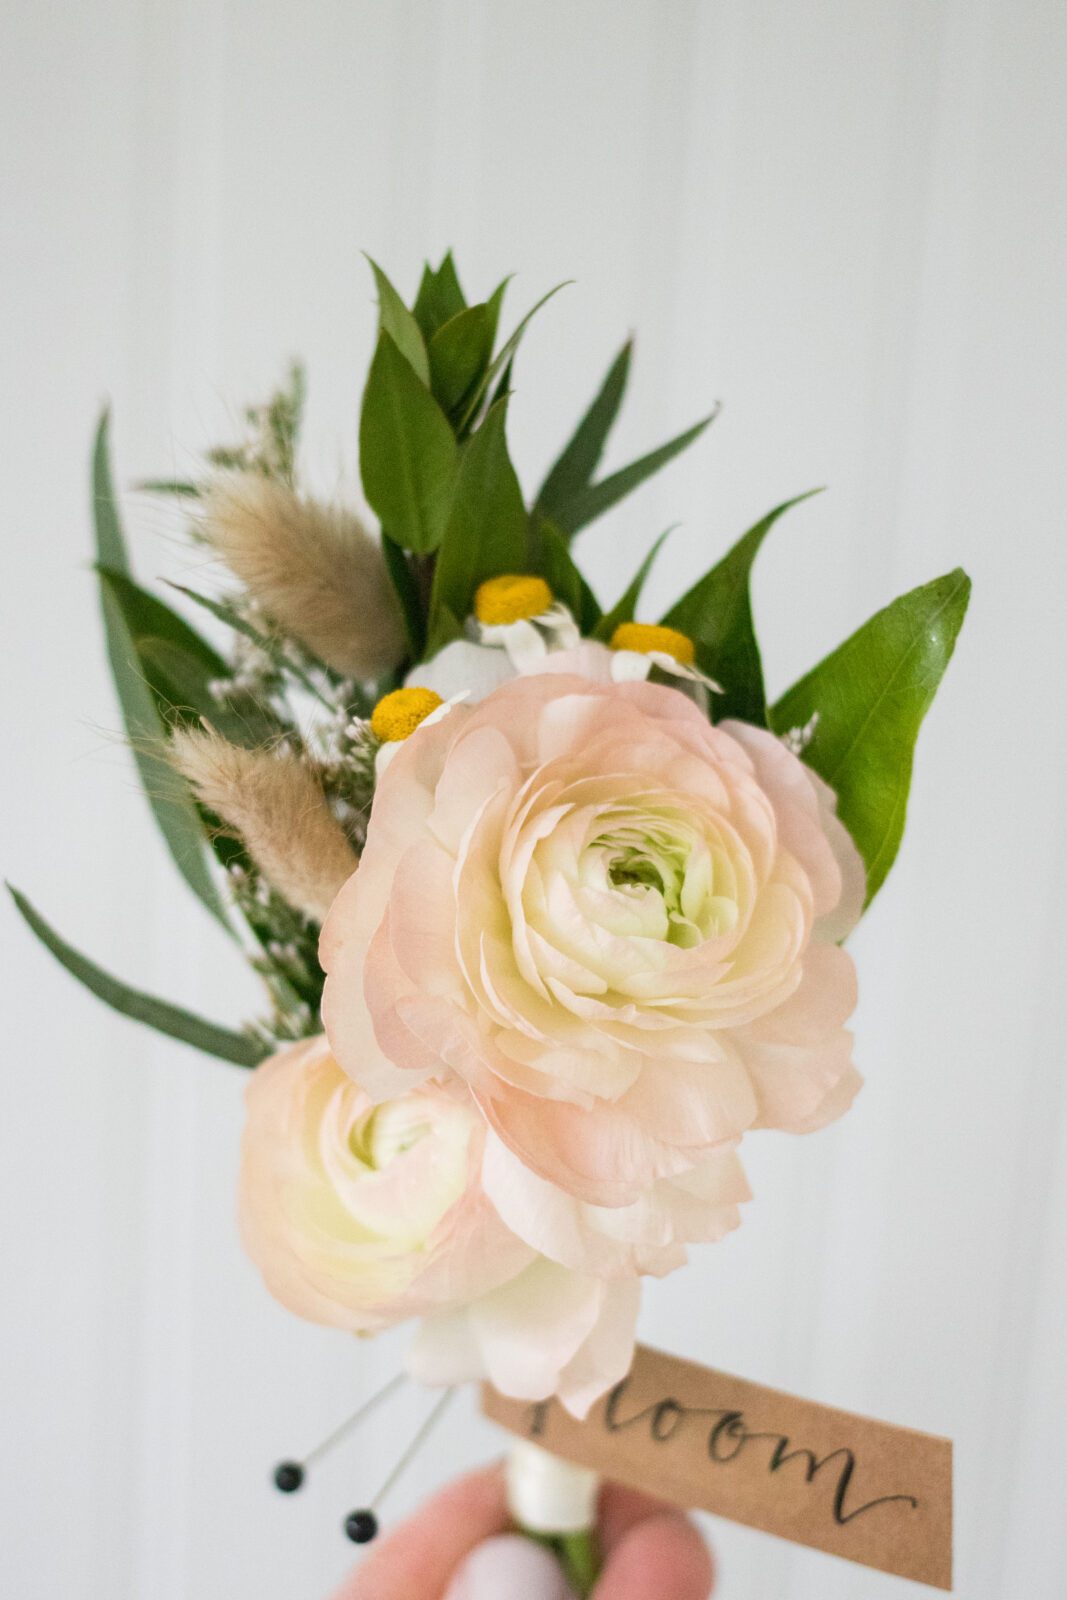
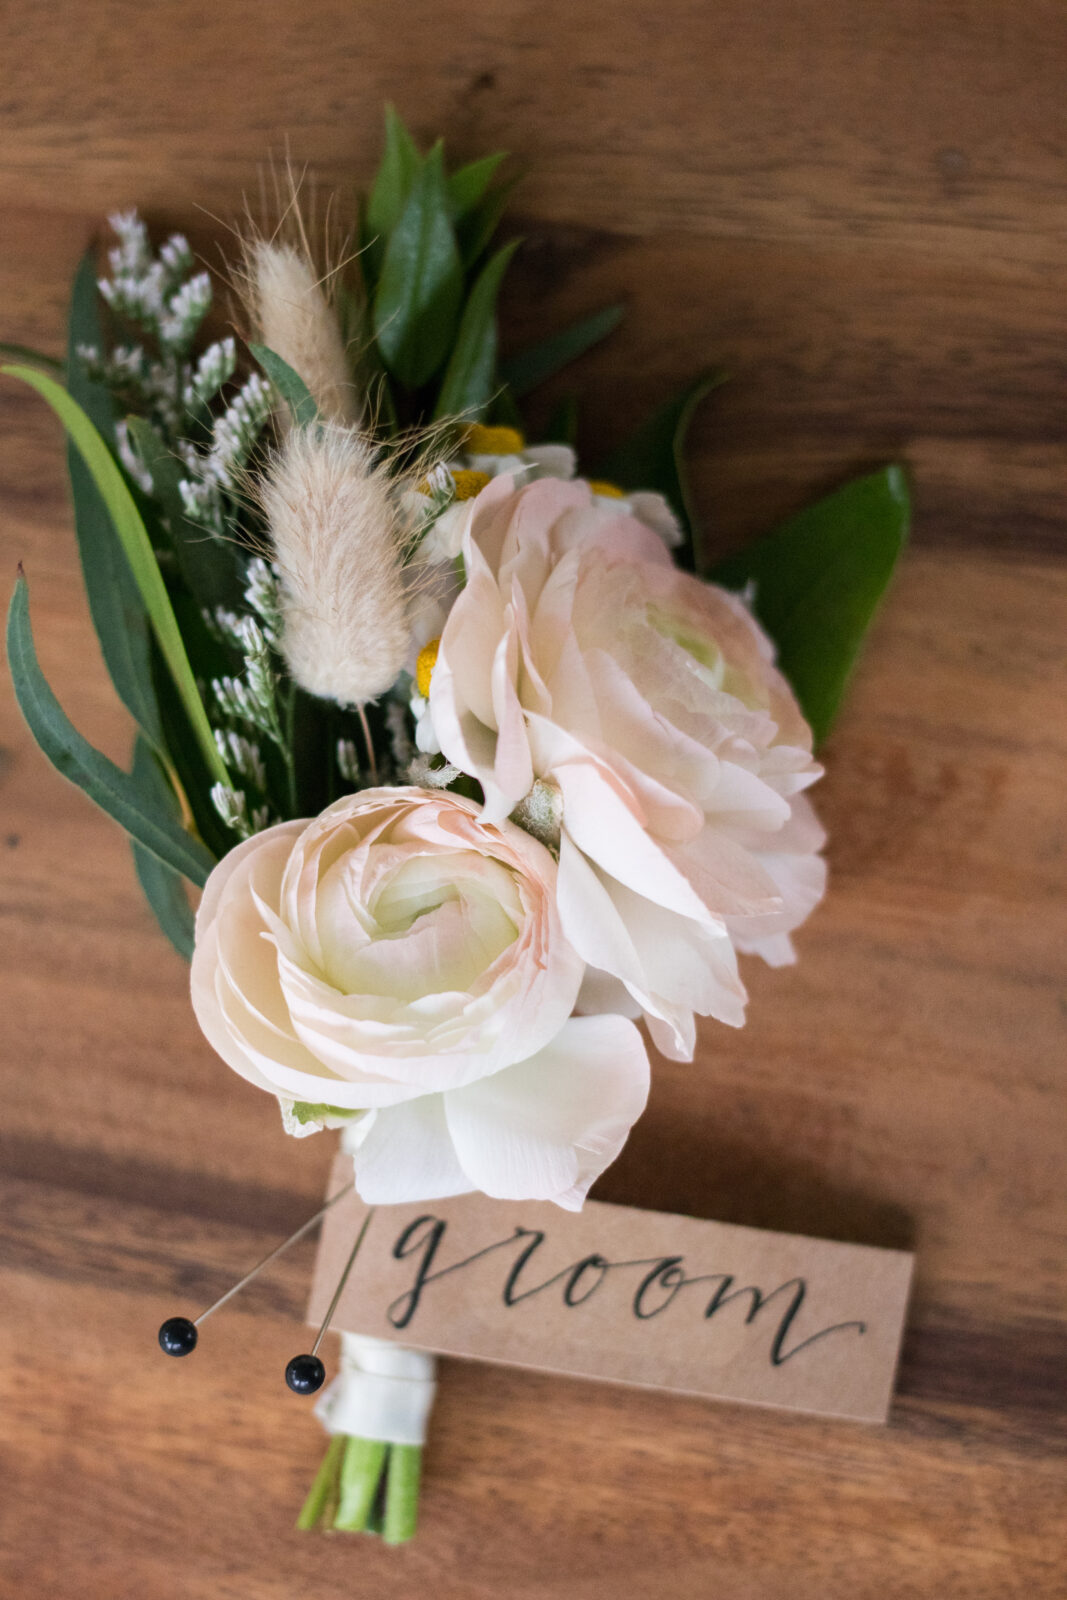
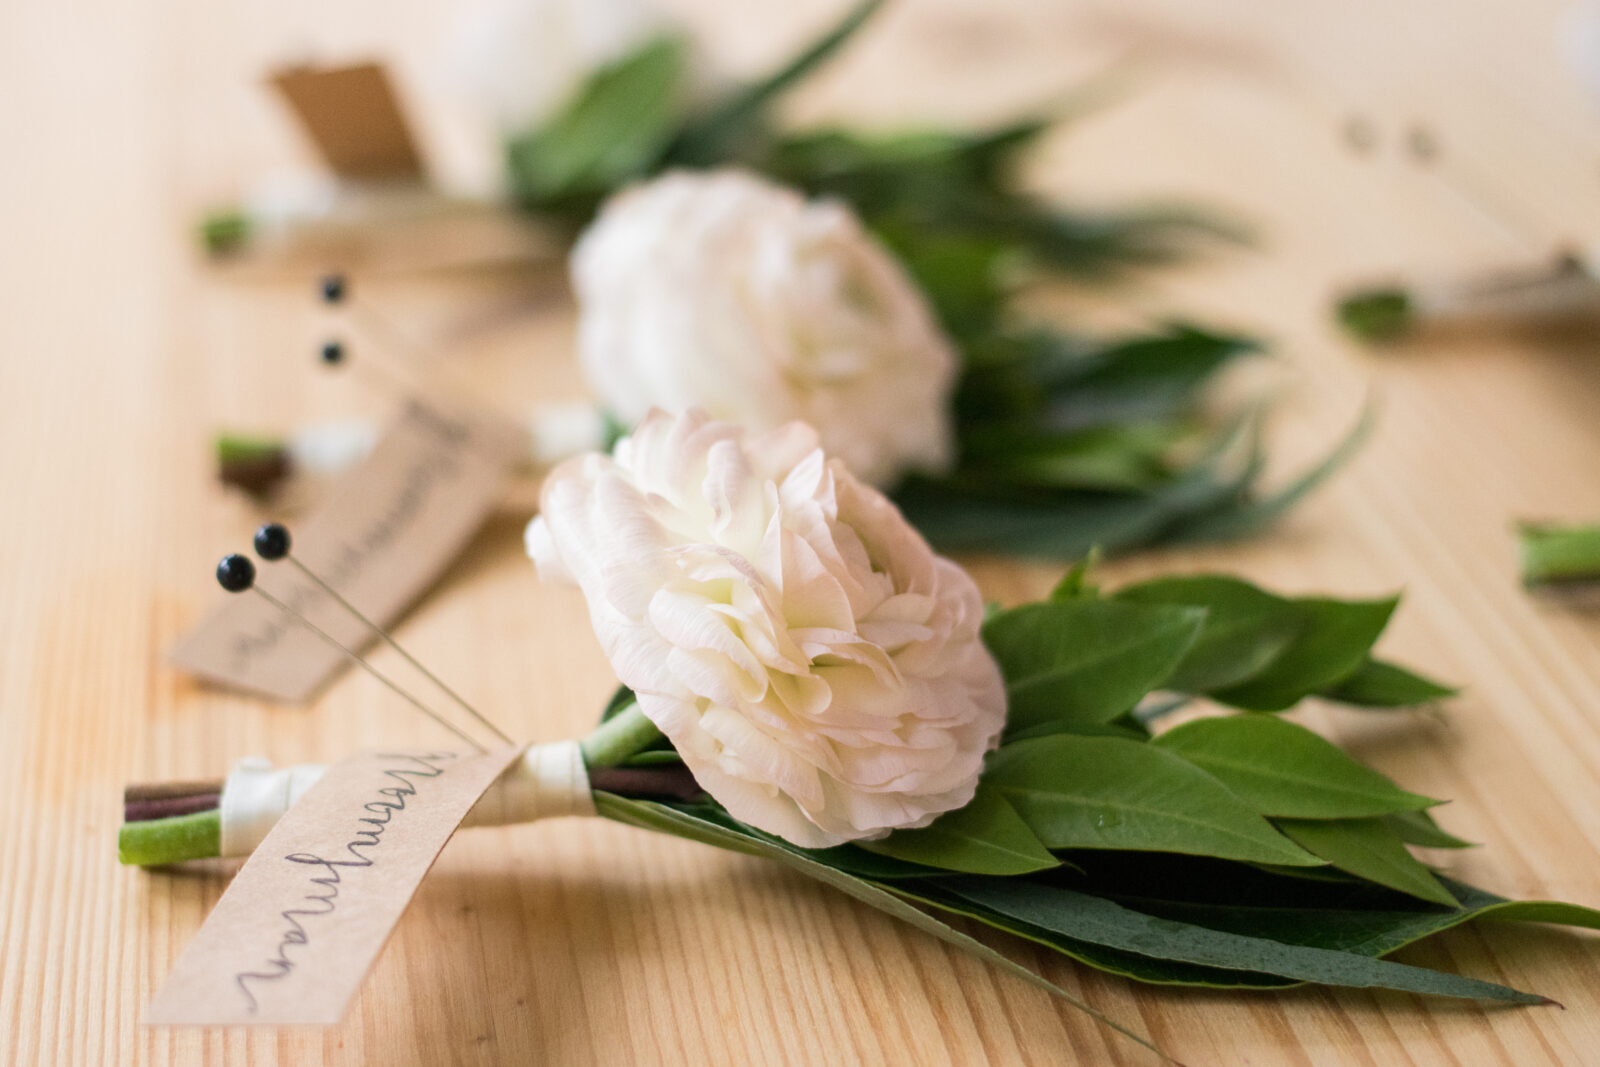
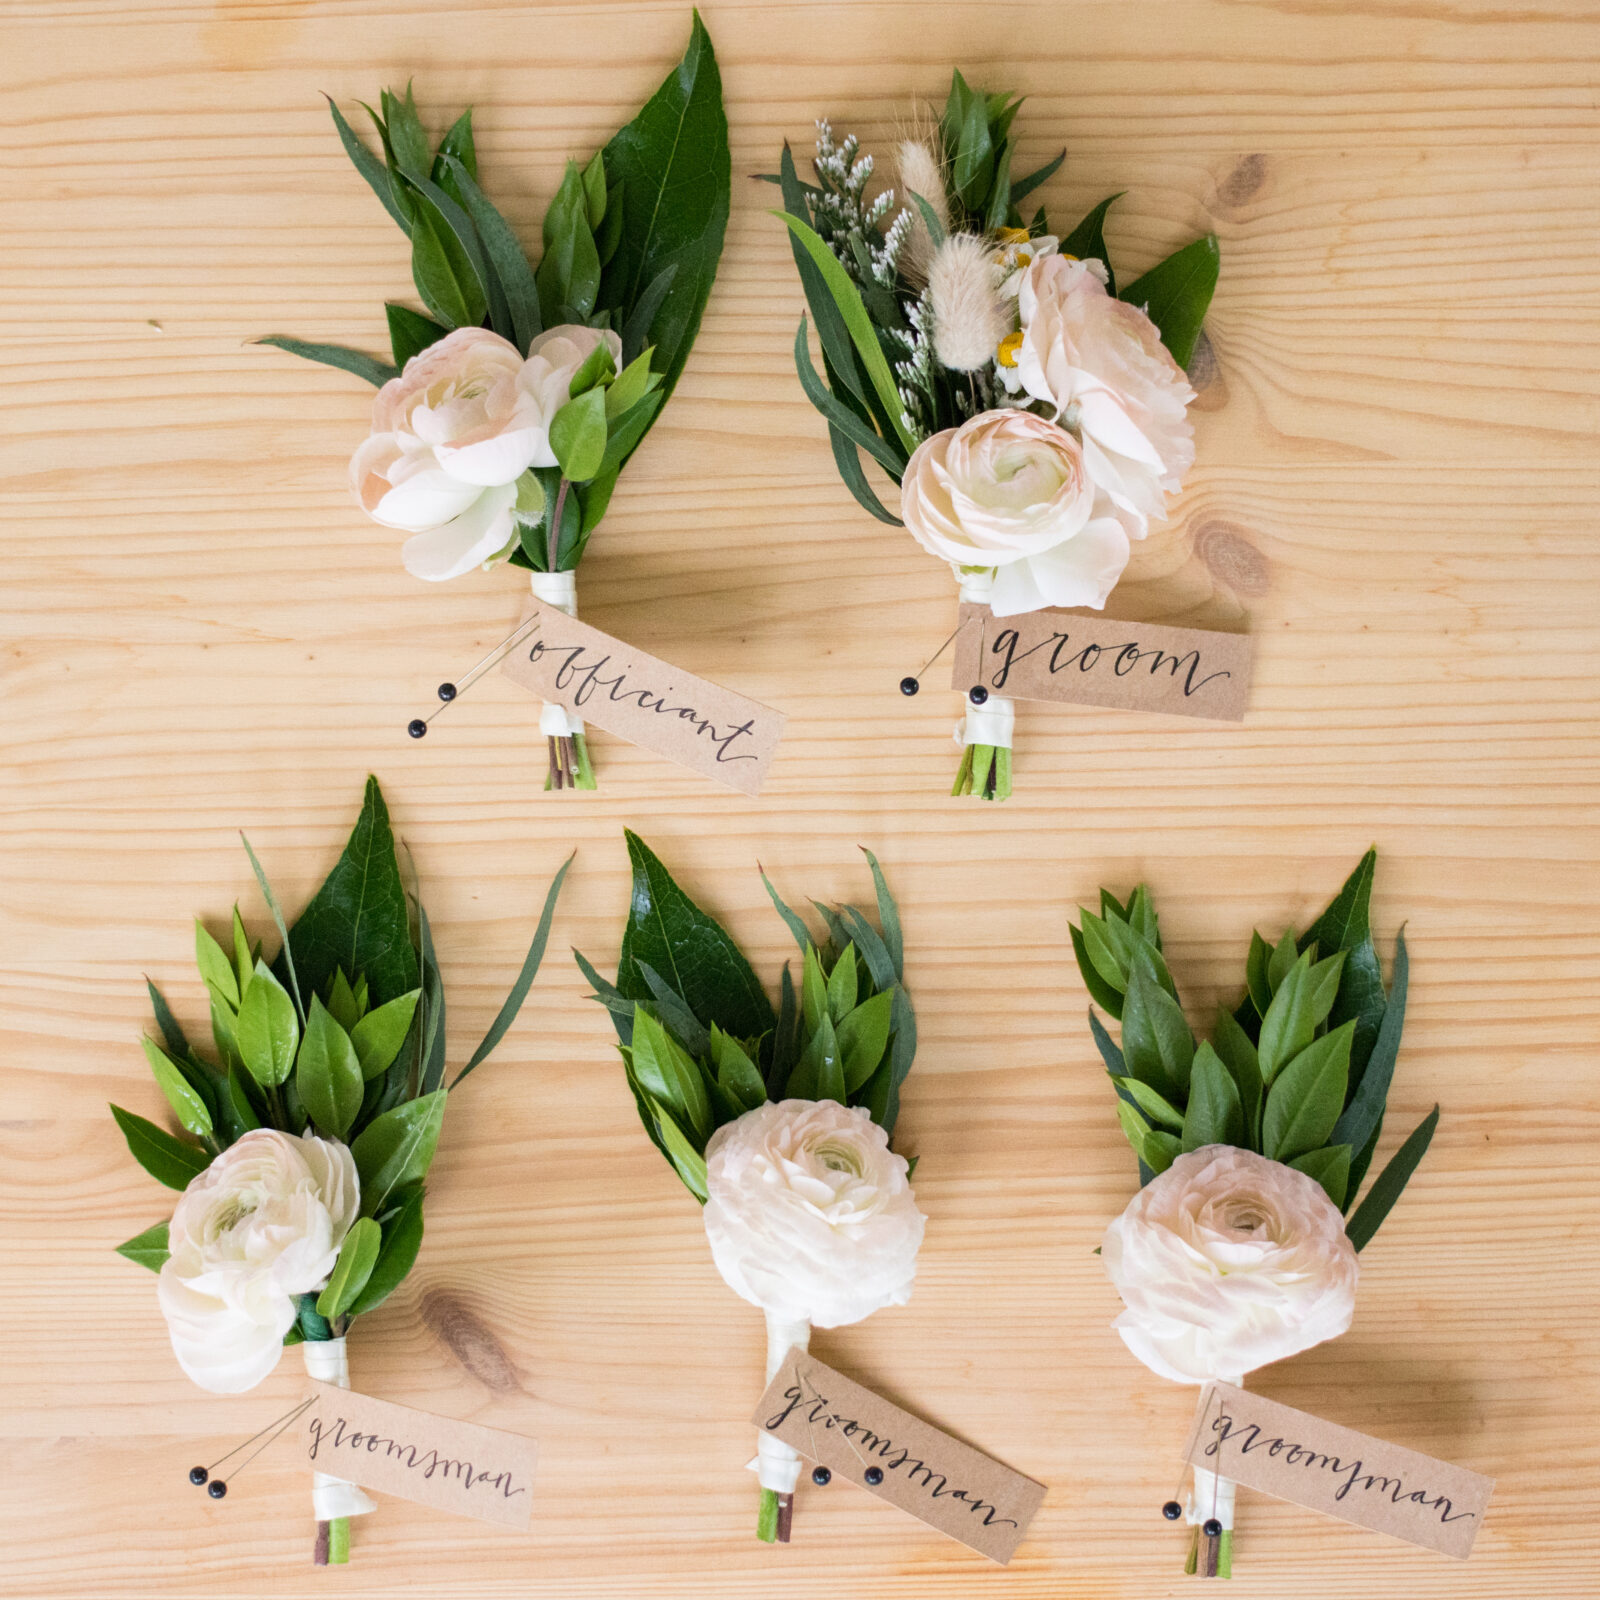
STEP 8: FINISH BOUTONNIERE
When you’re satisfied with your arrangement, here are steps you’ll take to finalize your boutonniere:
- Generously use floral tape to bring your arrangement together.
- Use more tape than necessary to have more stability for the pins to go through
- Keep in mind that the tape is heat-activated and will stick to itself, not the stem
- Use shears or scissors to cut stems.
- Use ribbon scissors or cloth-cutting scissors to cut ribbon (optional)
- Wrap ribbon, top to bottom, around the boutonniere stems.
- You can also opt to tie a small accent ribbon around the stems
- If you’d prefer to not use a ribbon and just have the natural-looking green, that’s a great option as well!
- Spray with Crowning Glory (optional)
- Put in Ziploc bag + place in fridge
Generously use floral tape to bring your arrangement together 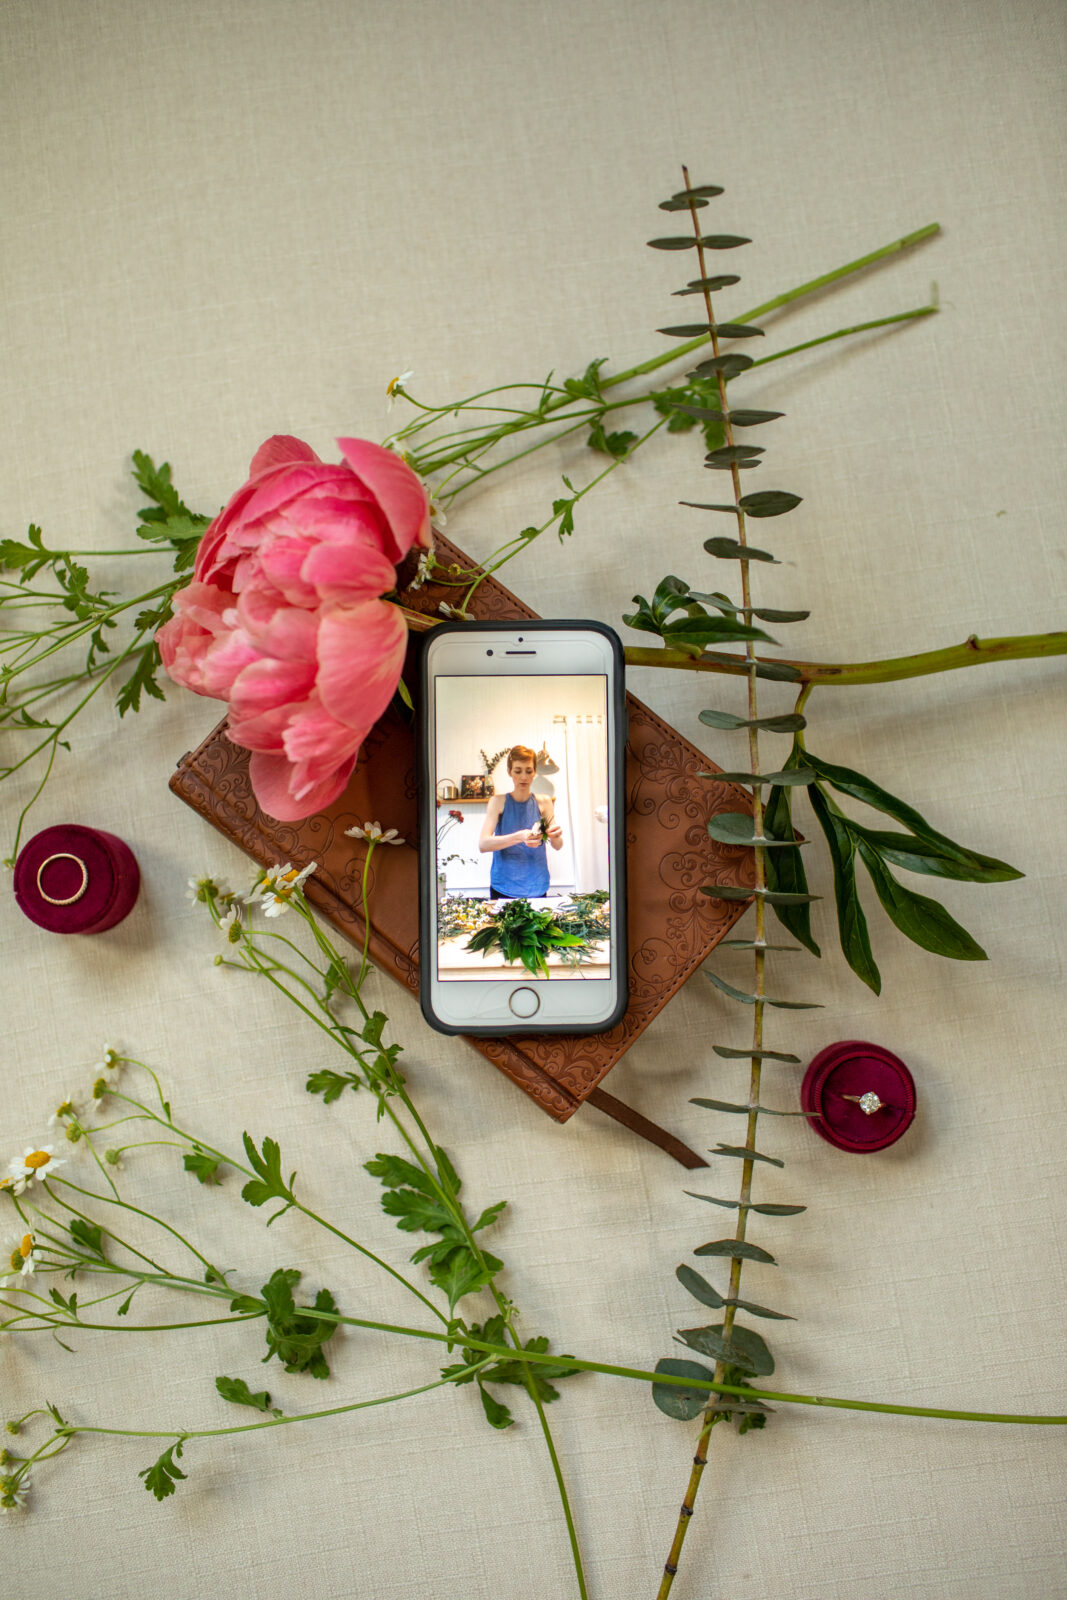
Use more tape than necessary to have more stability for the pins to go through 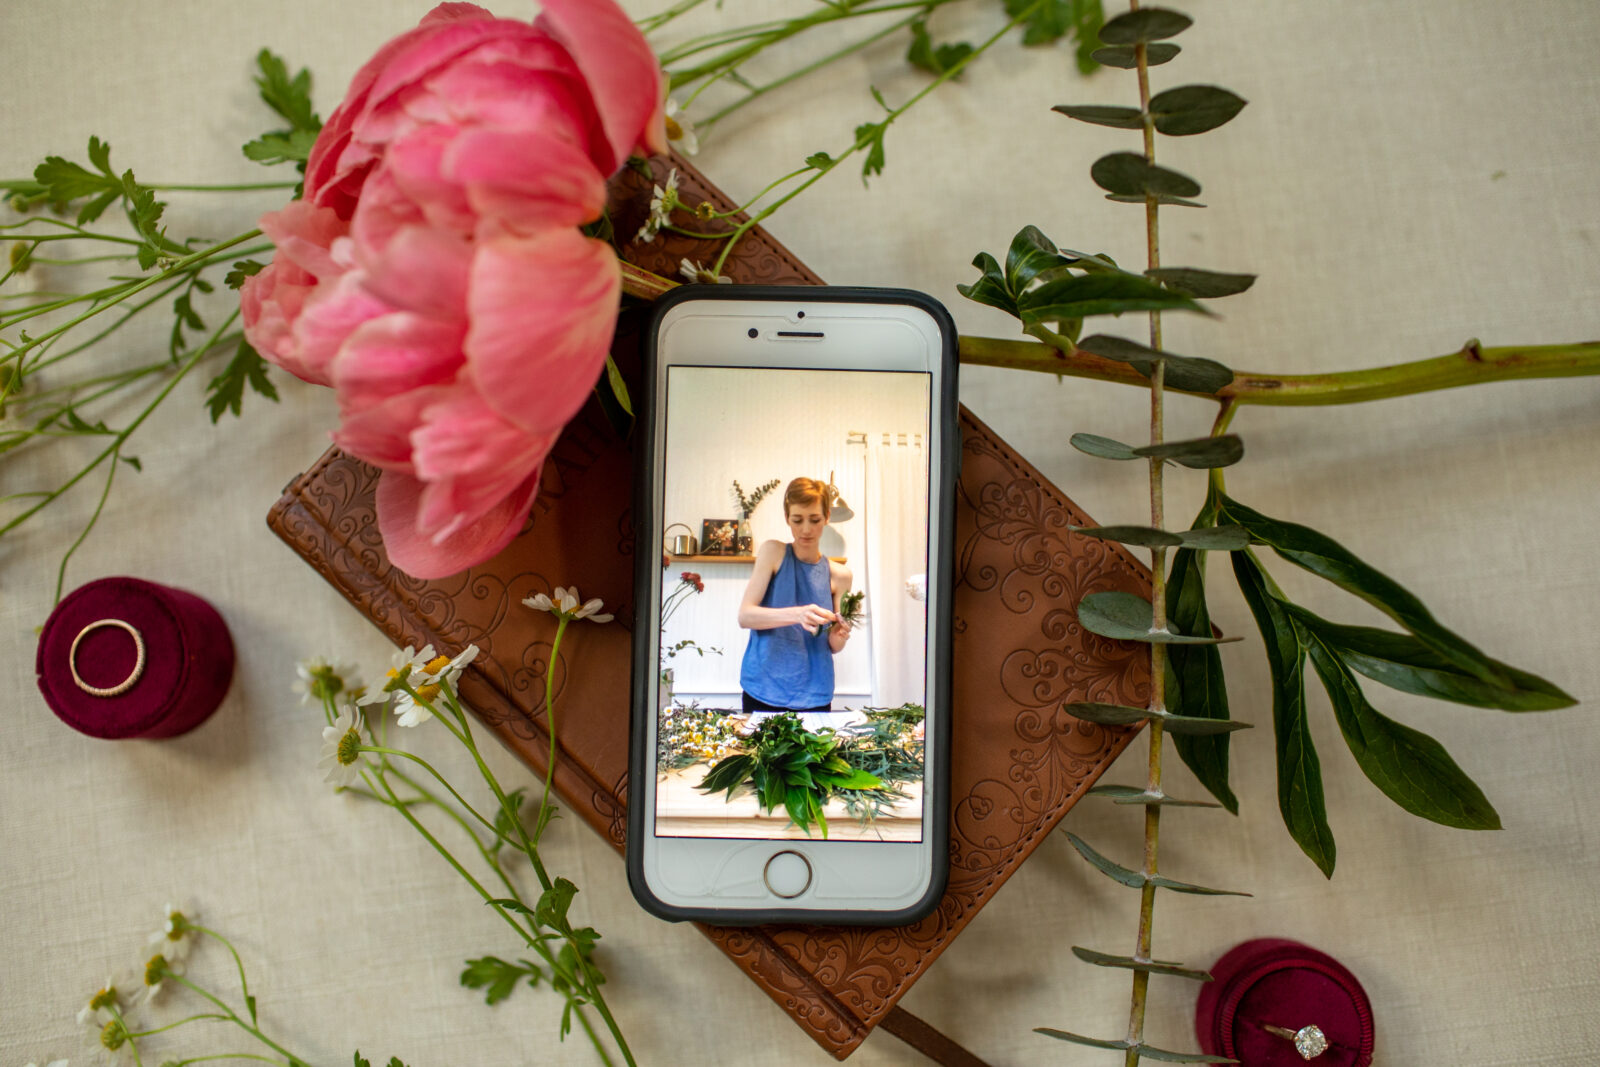
Use shears or scissors to cut stems
Wrap with ribbon however you prefer!
